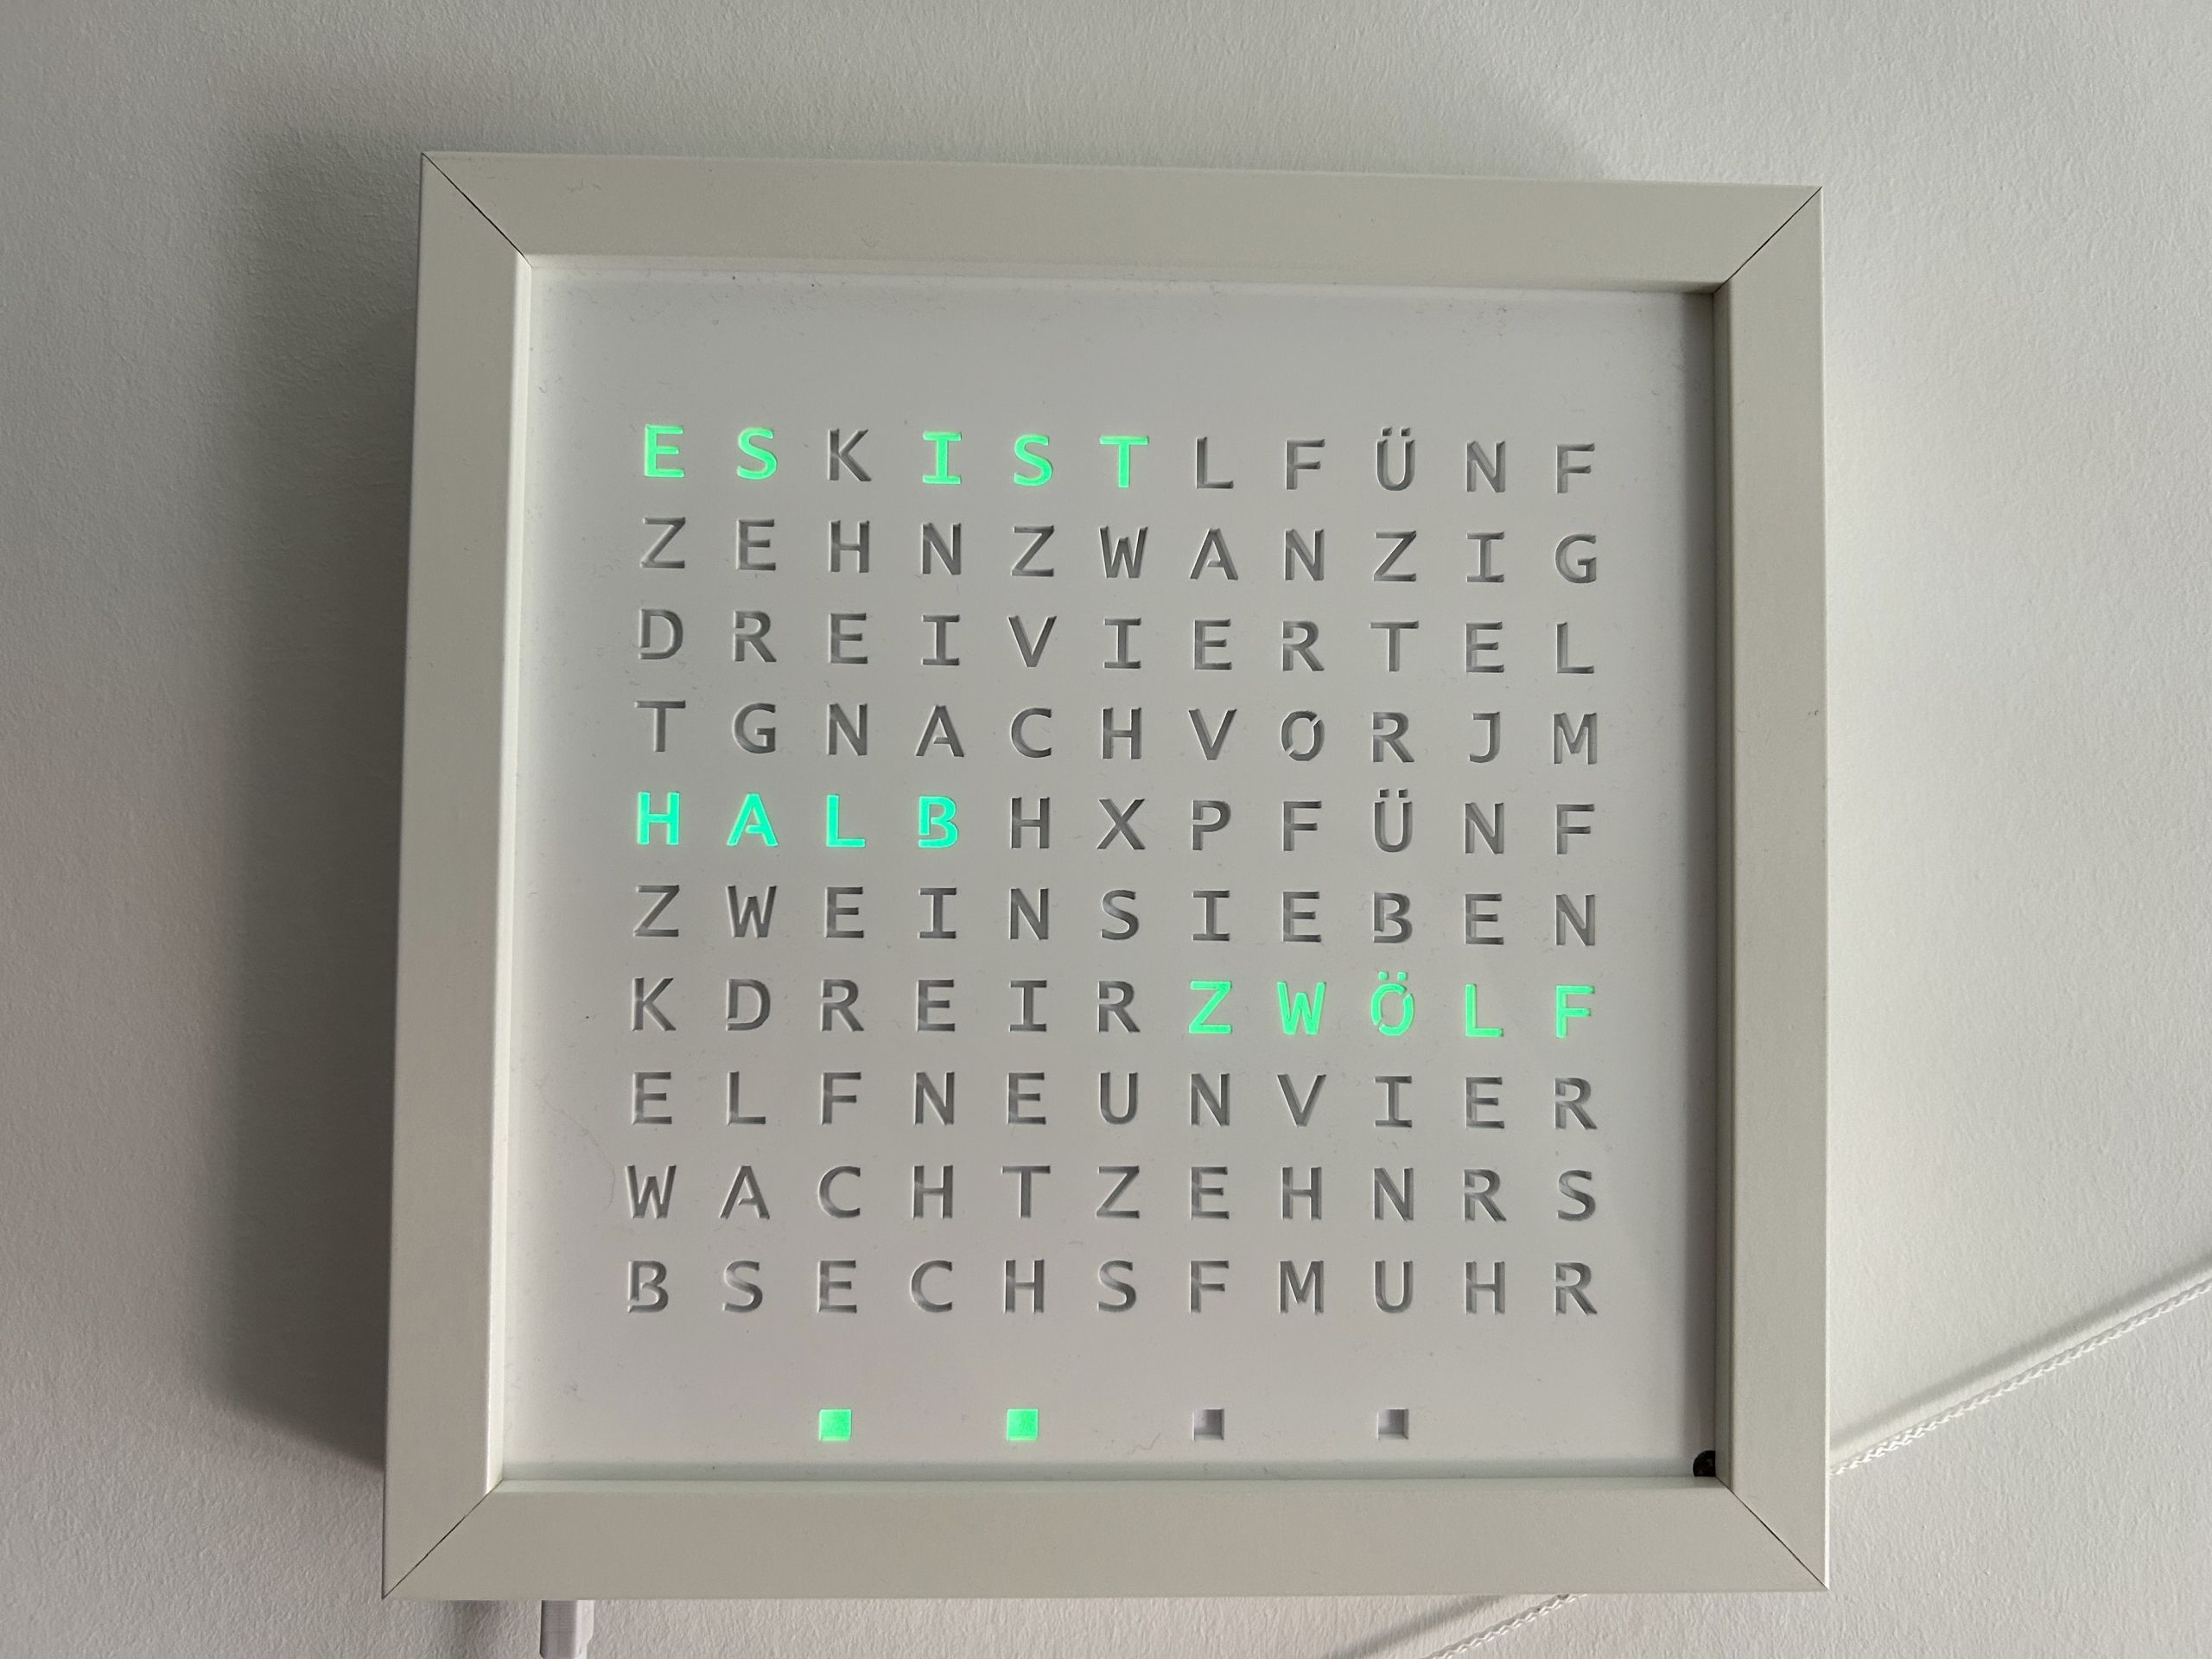
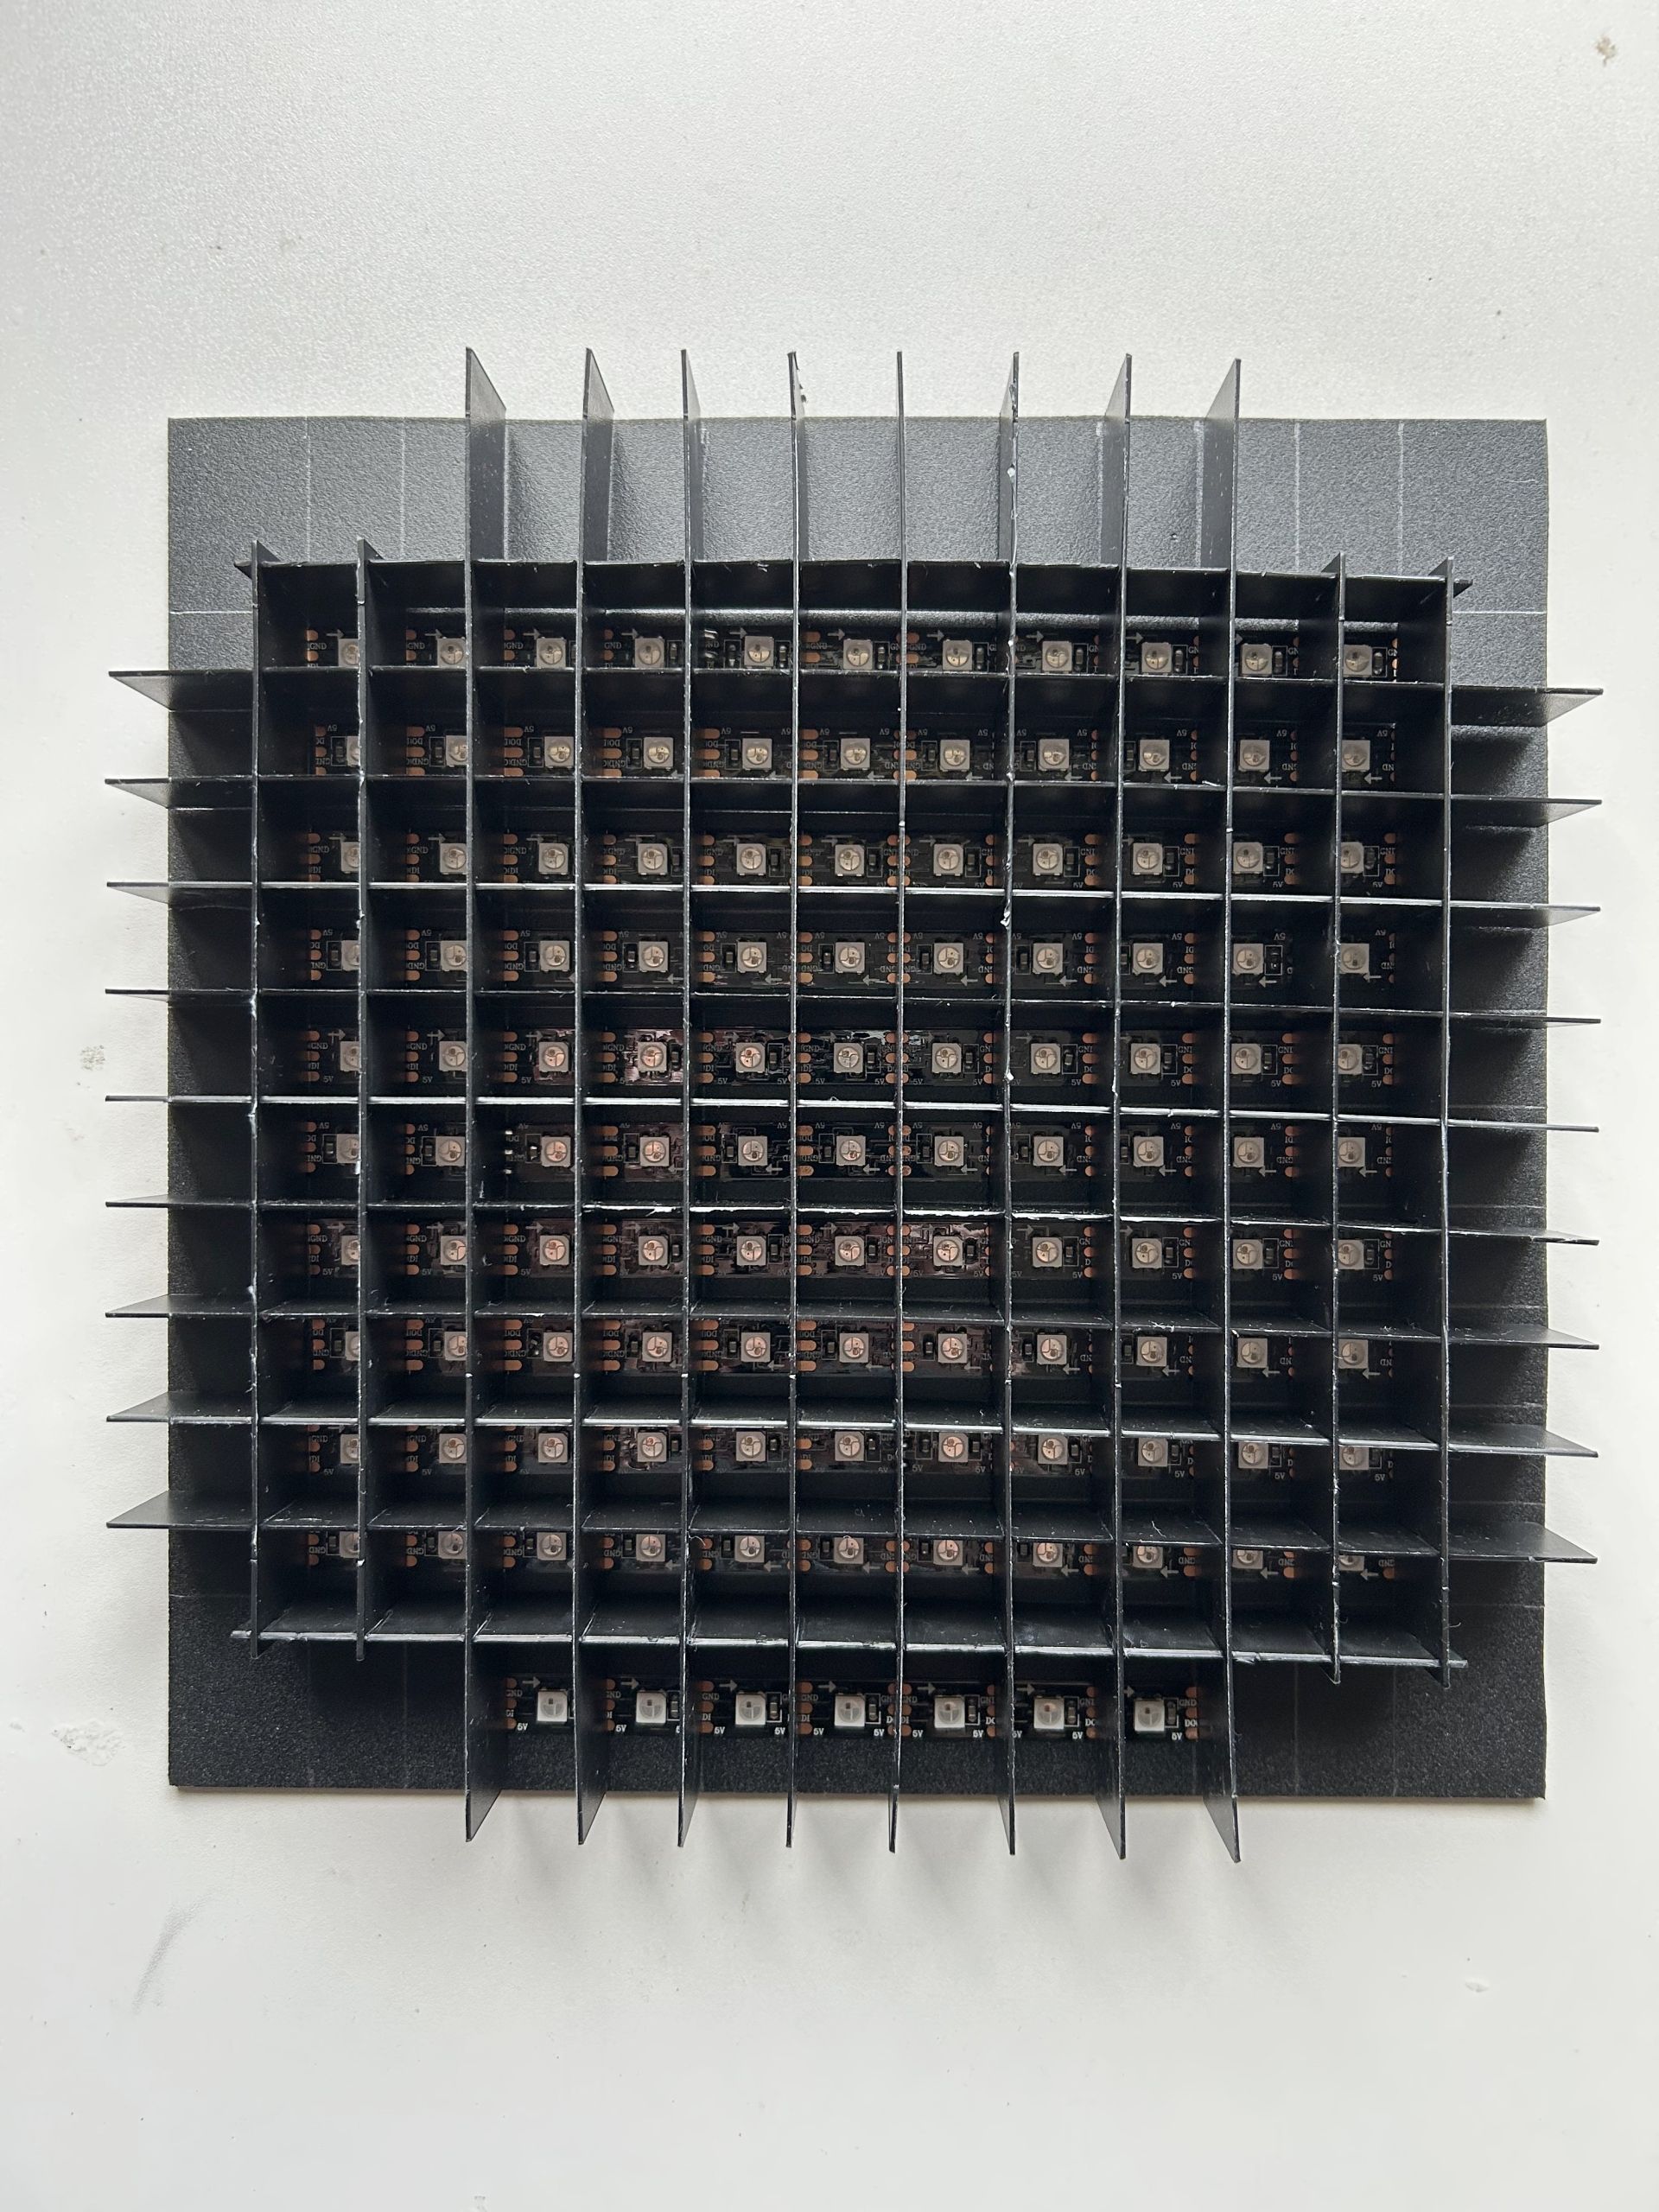
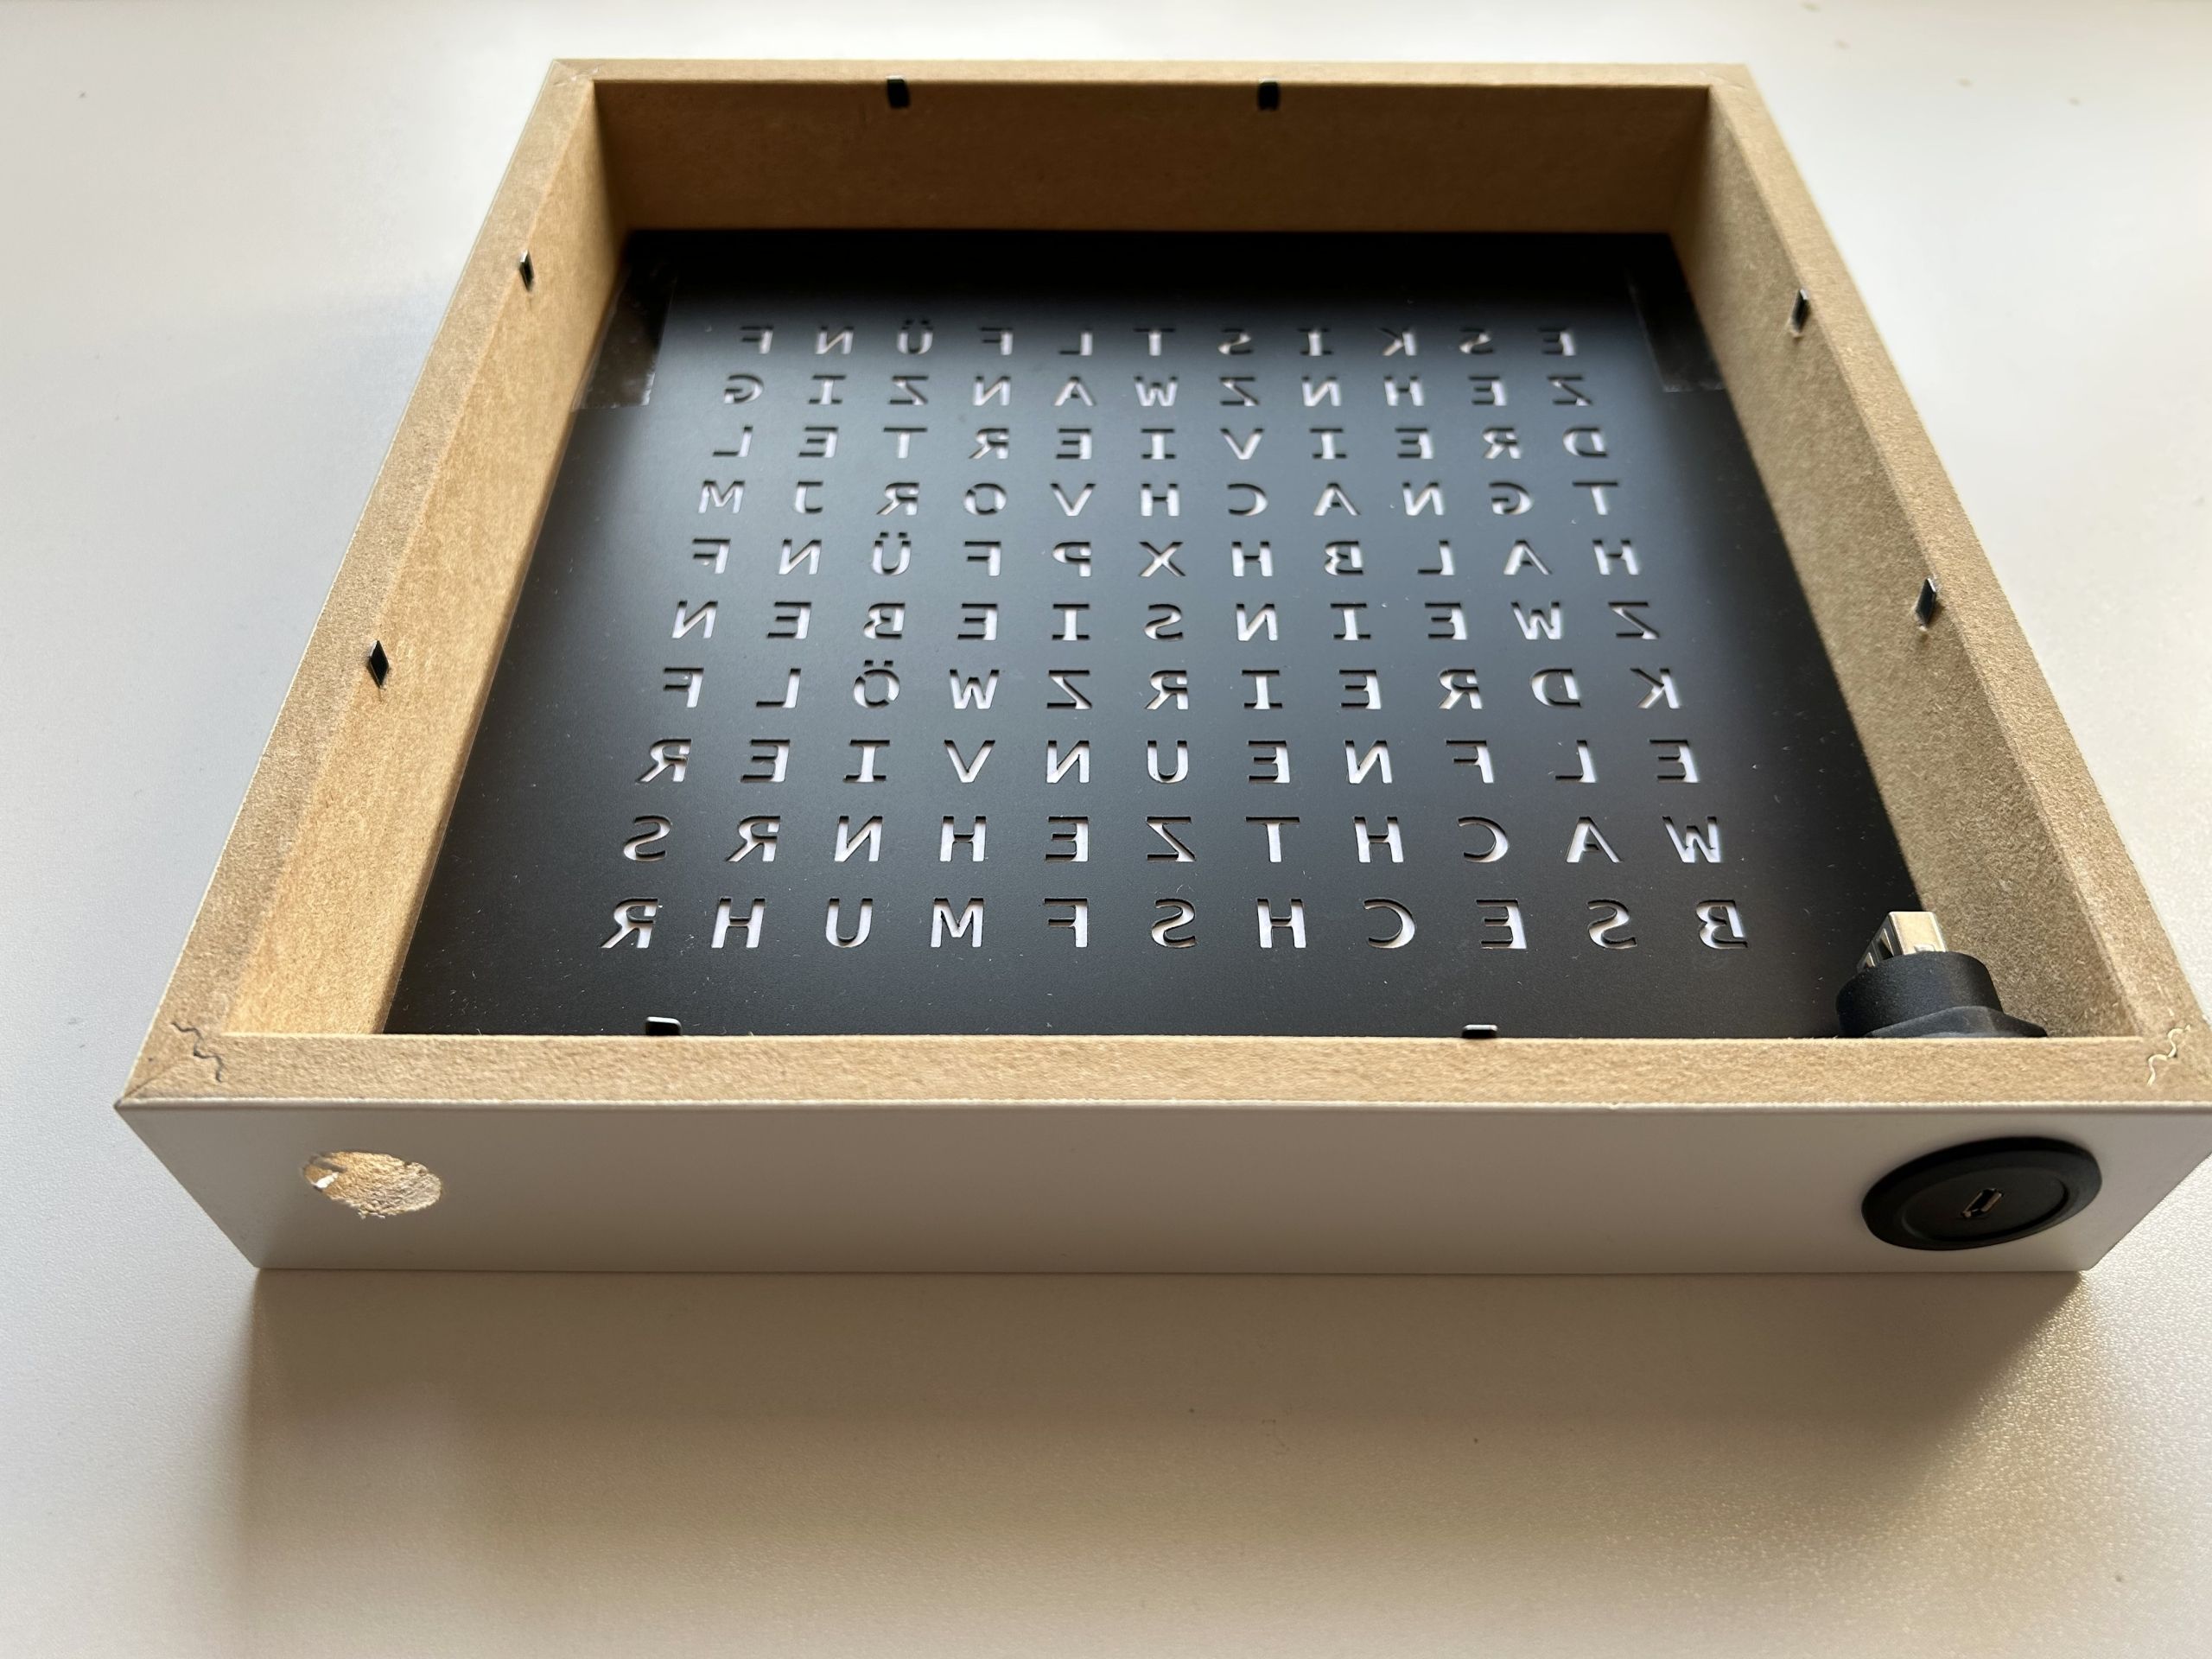
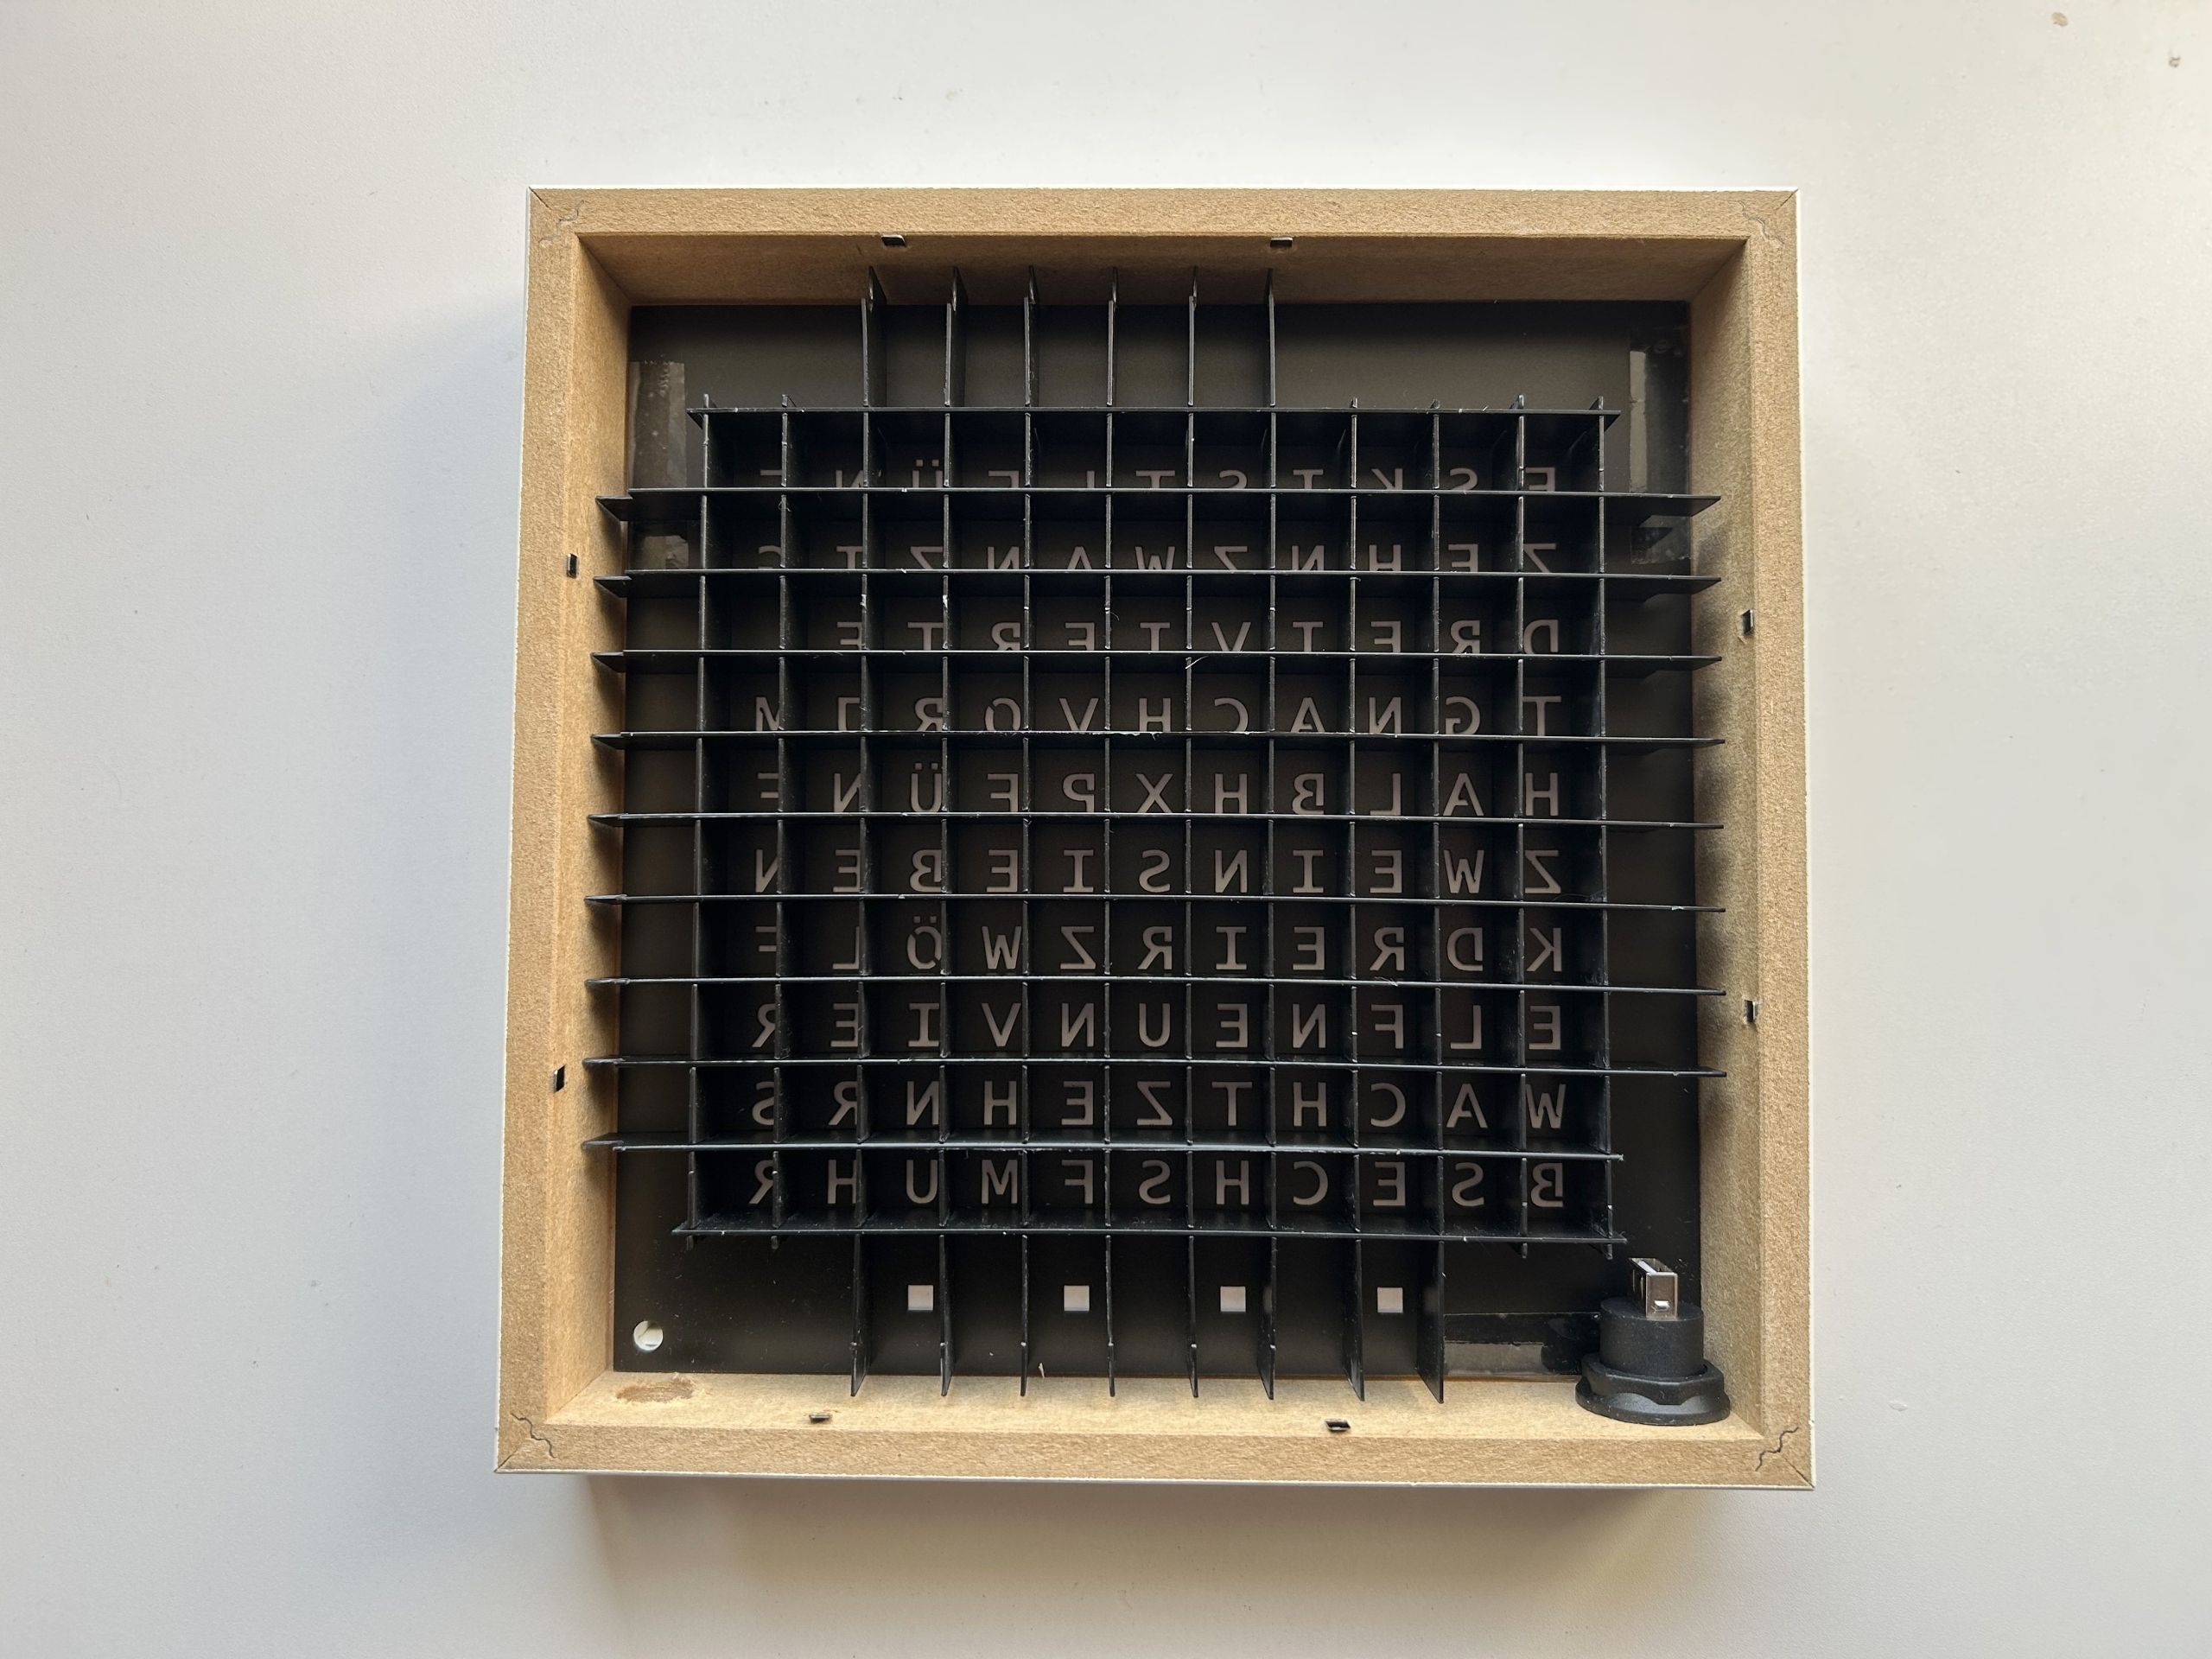
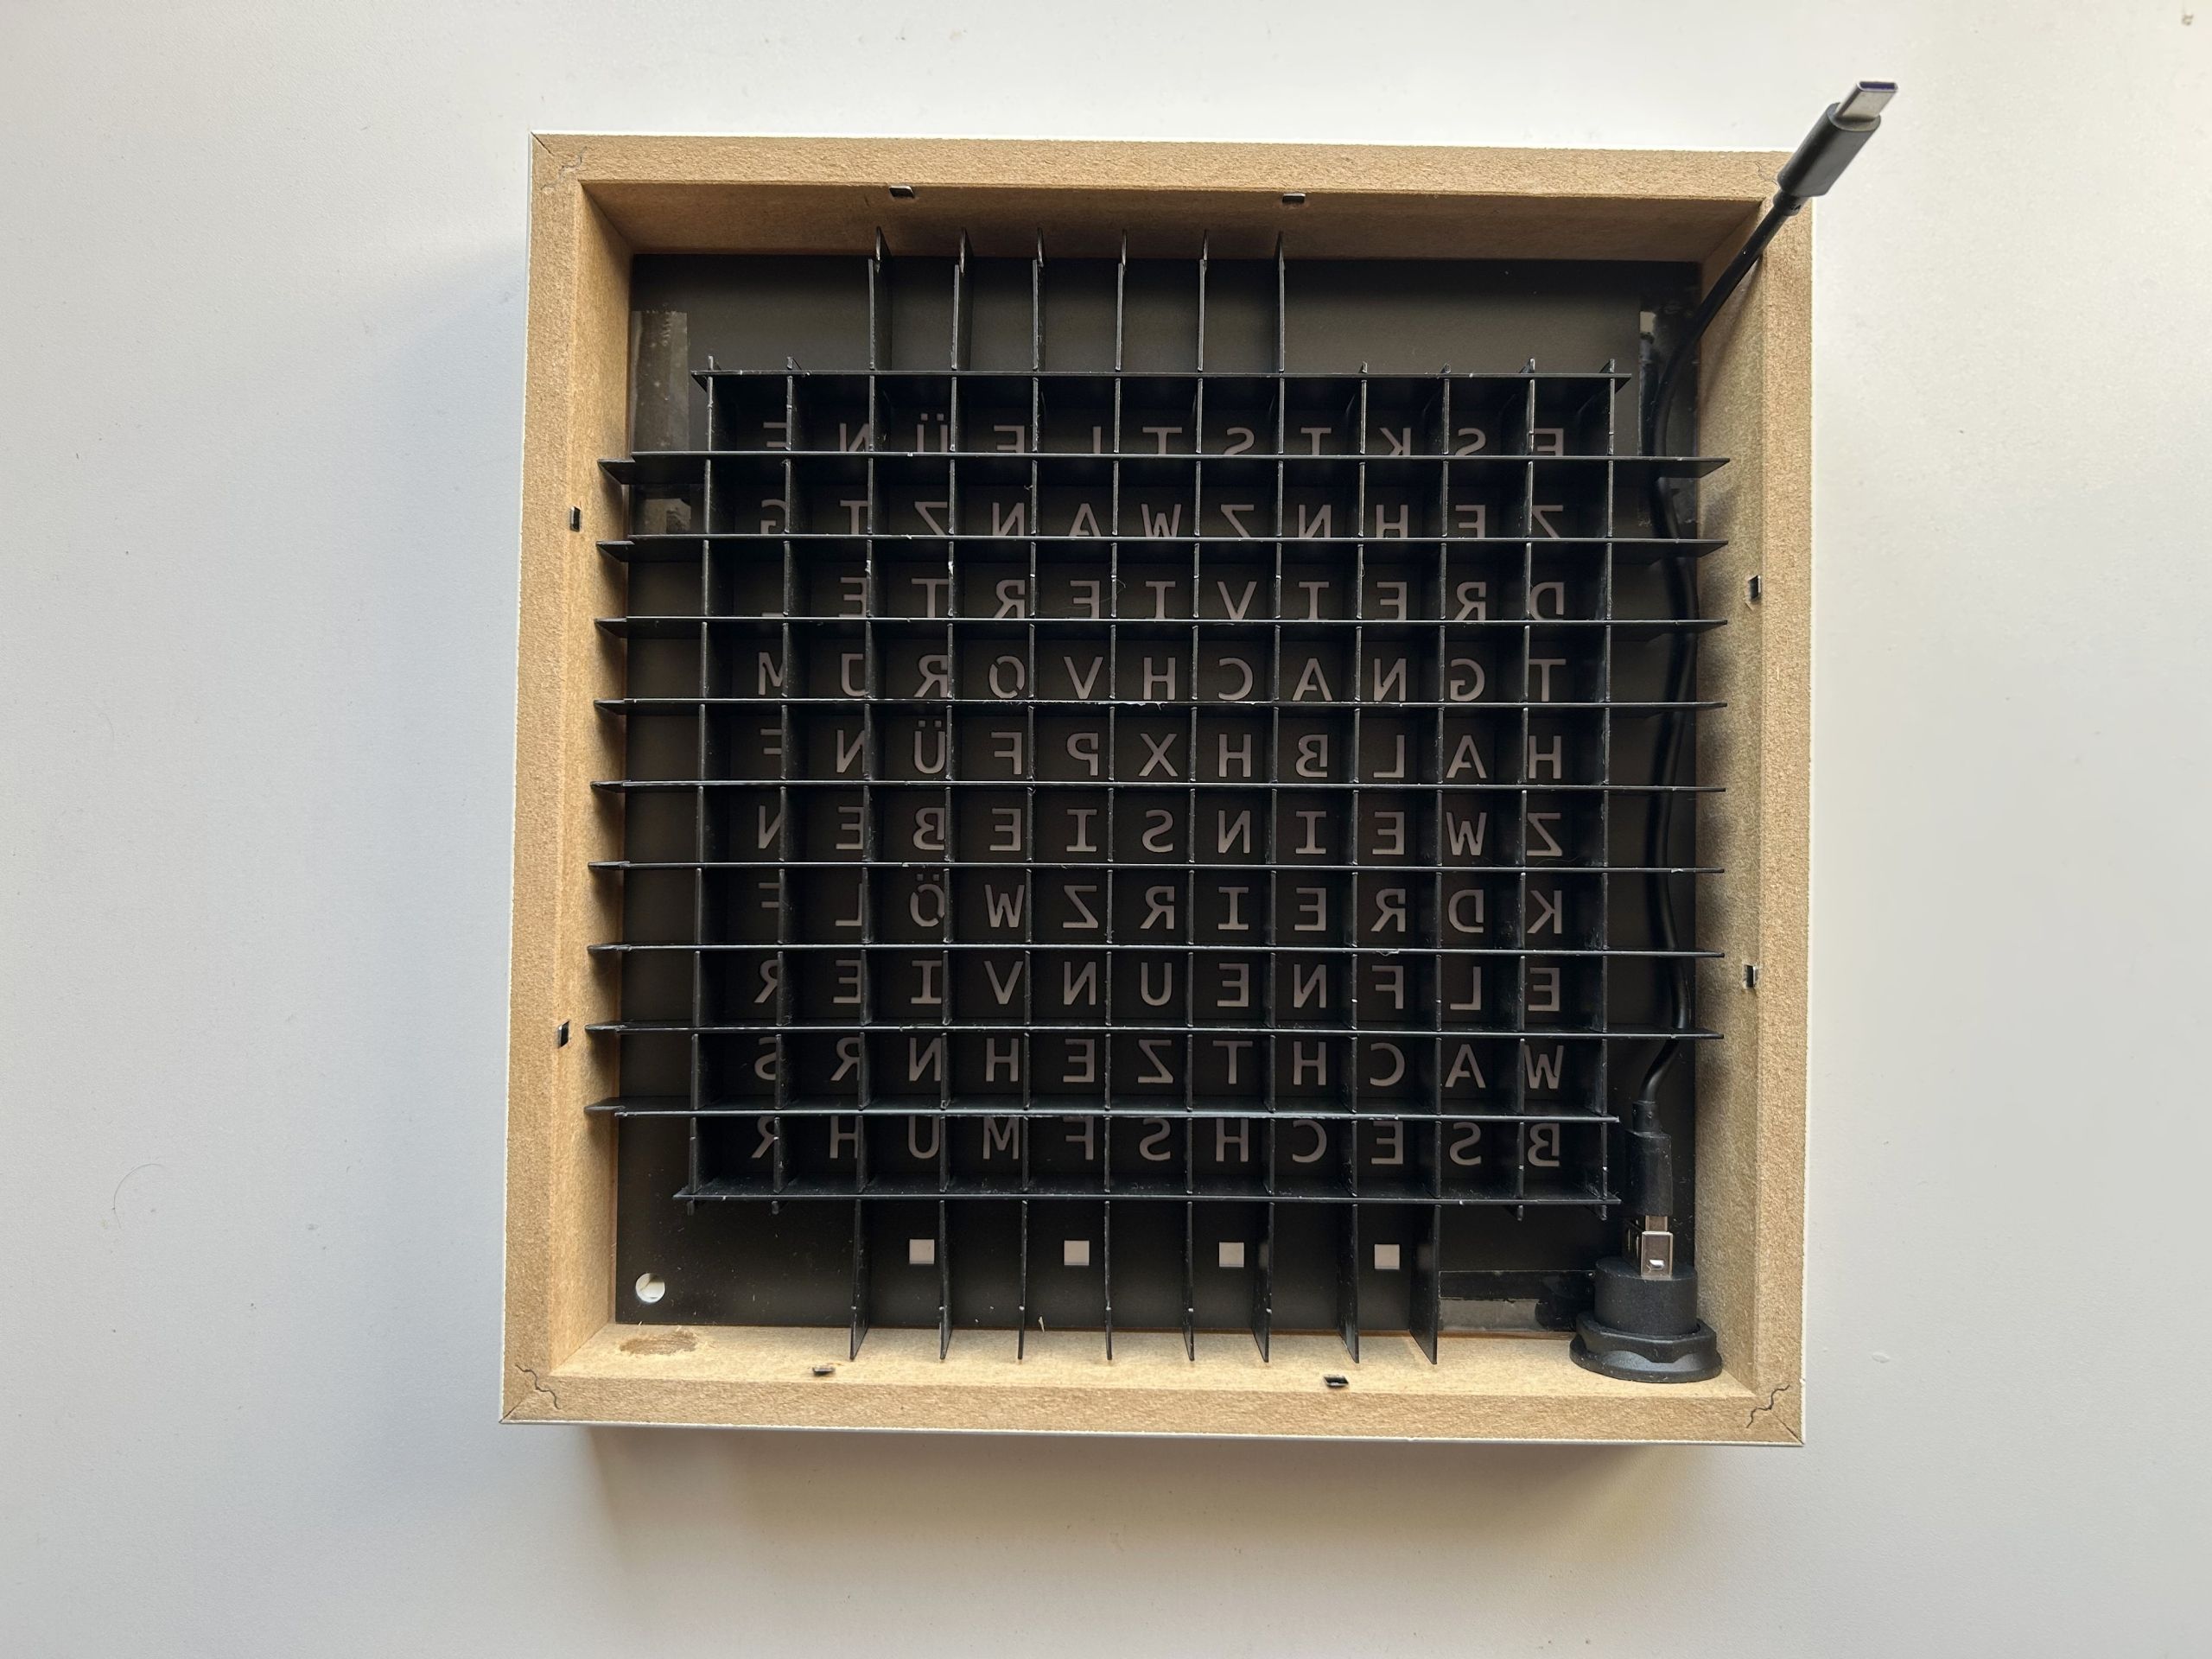
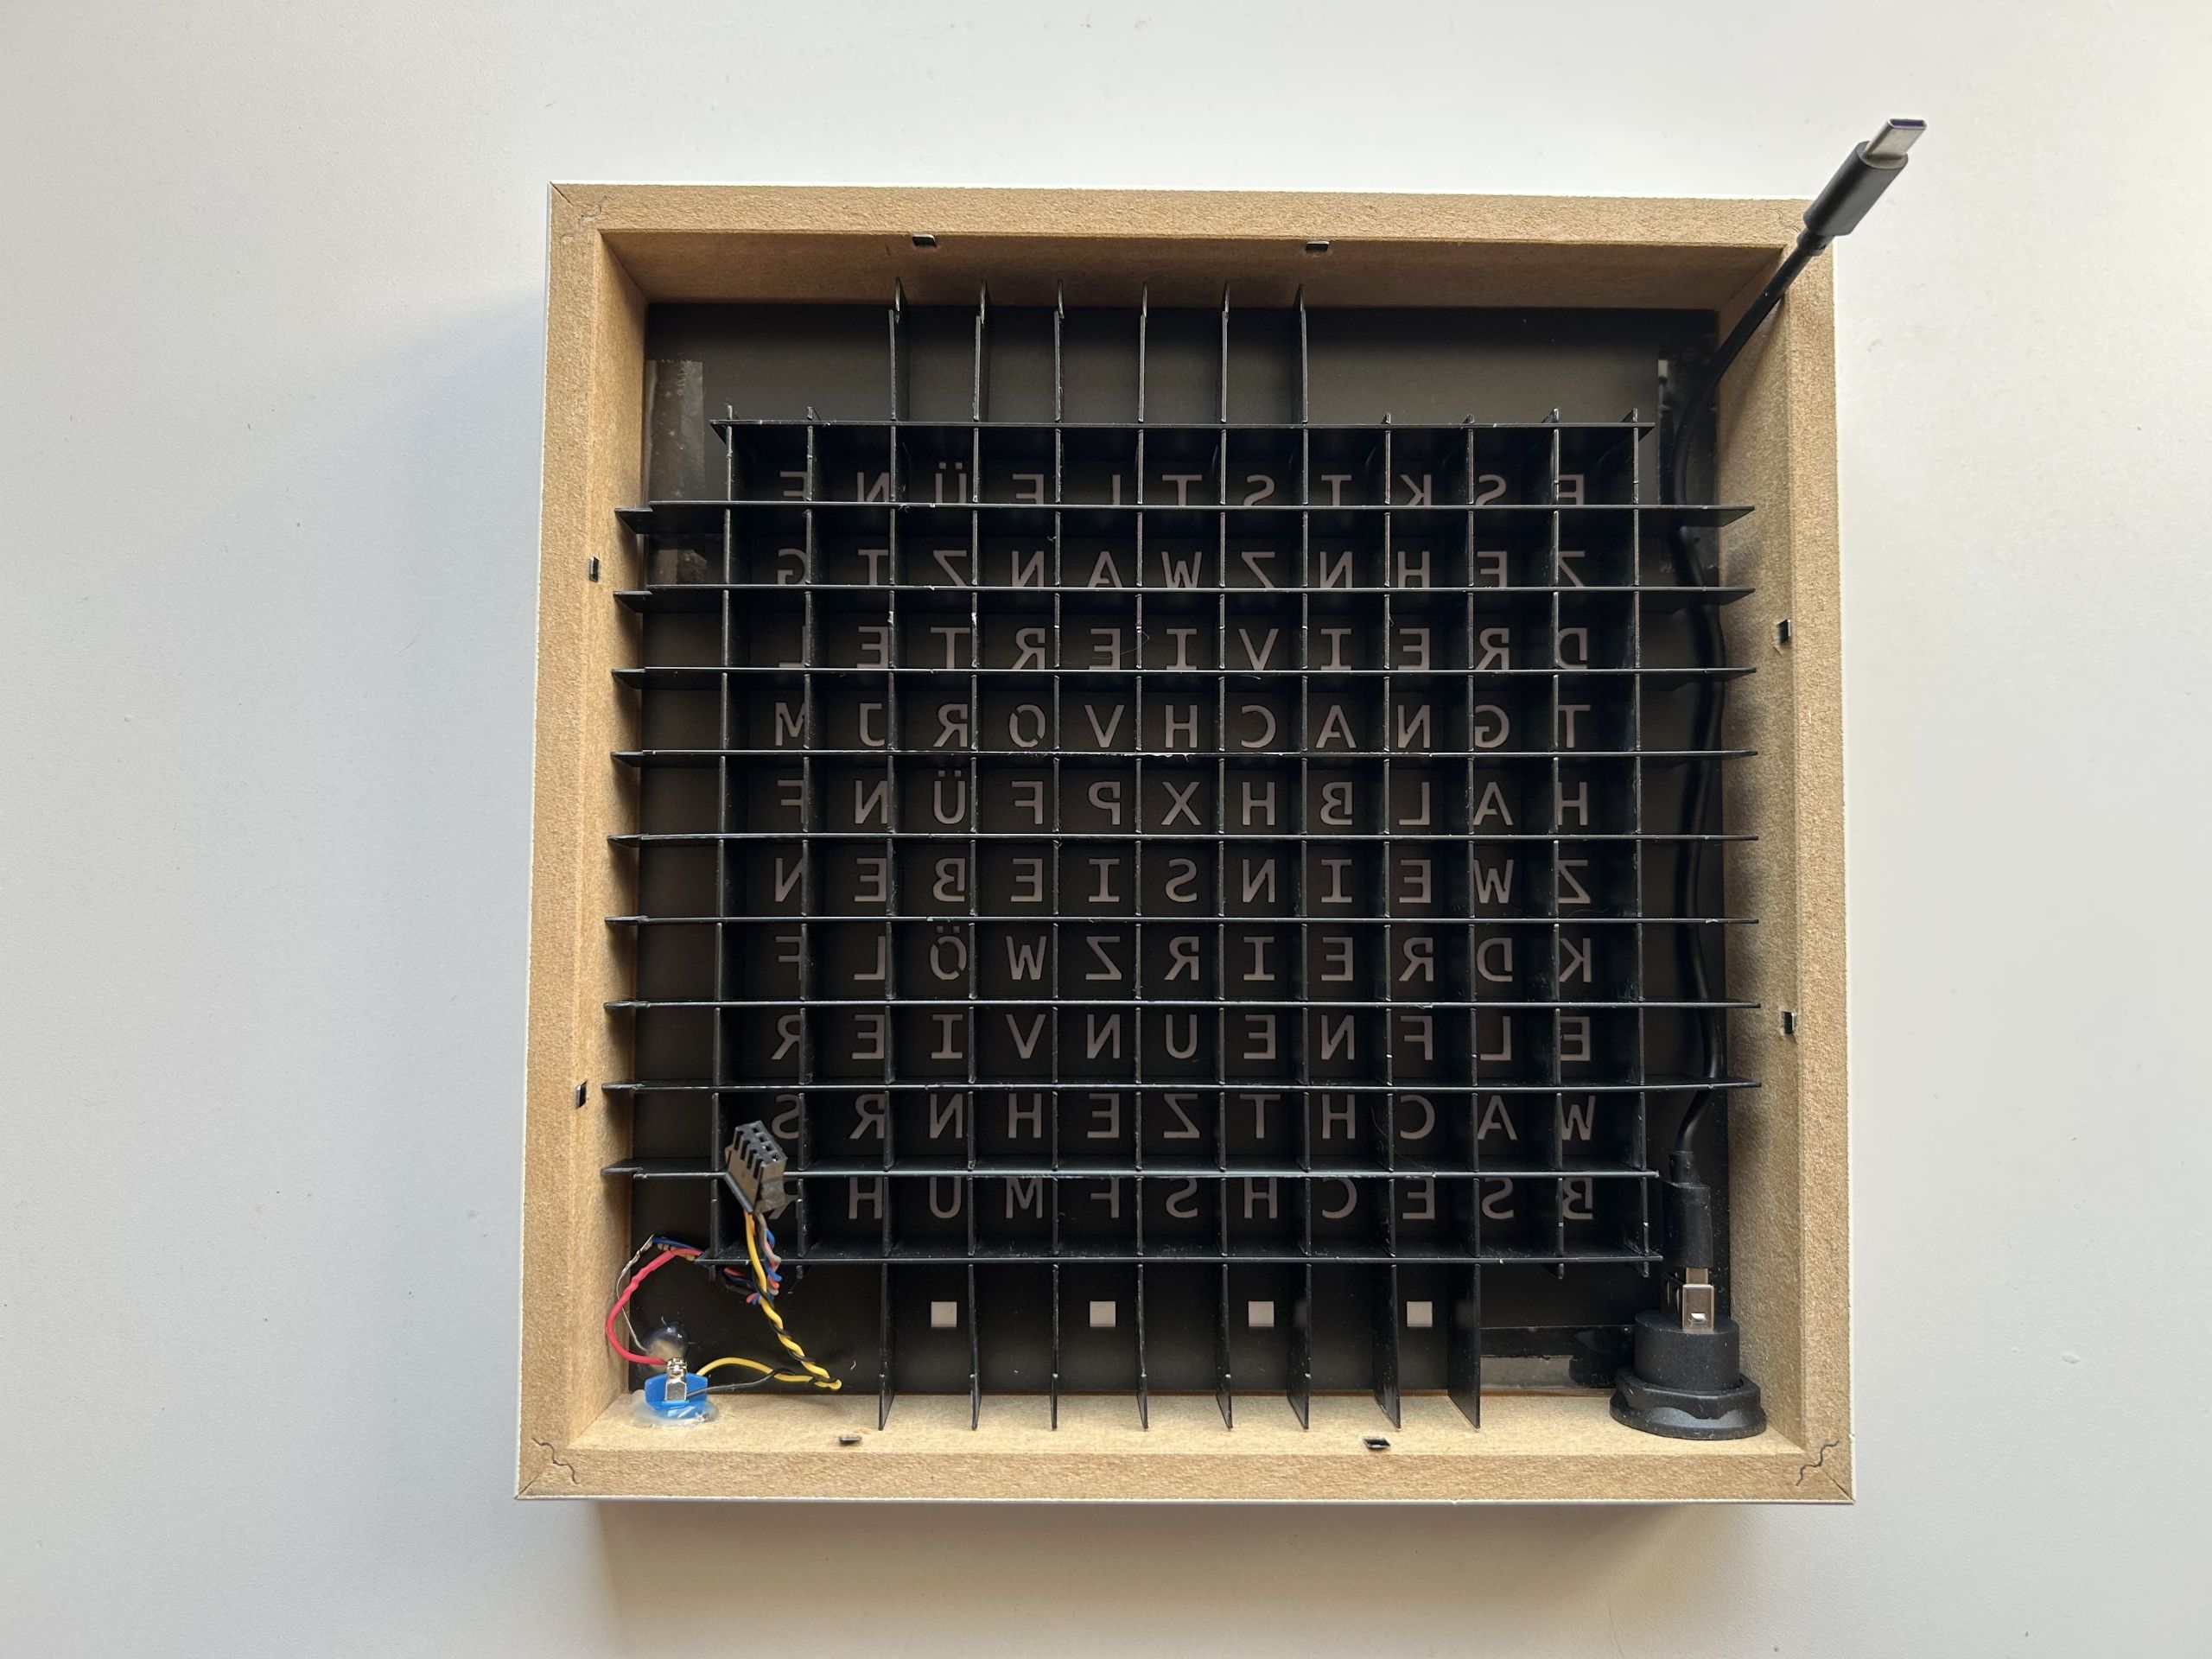
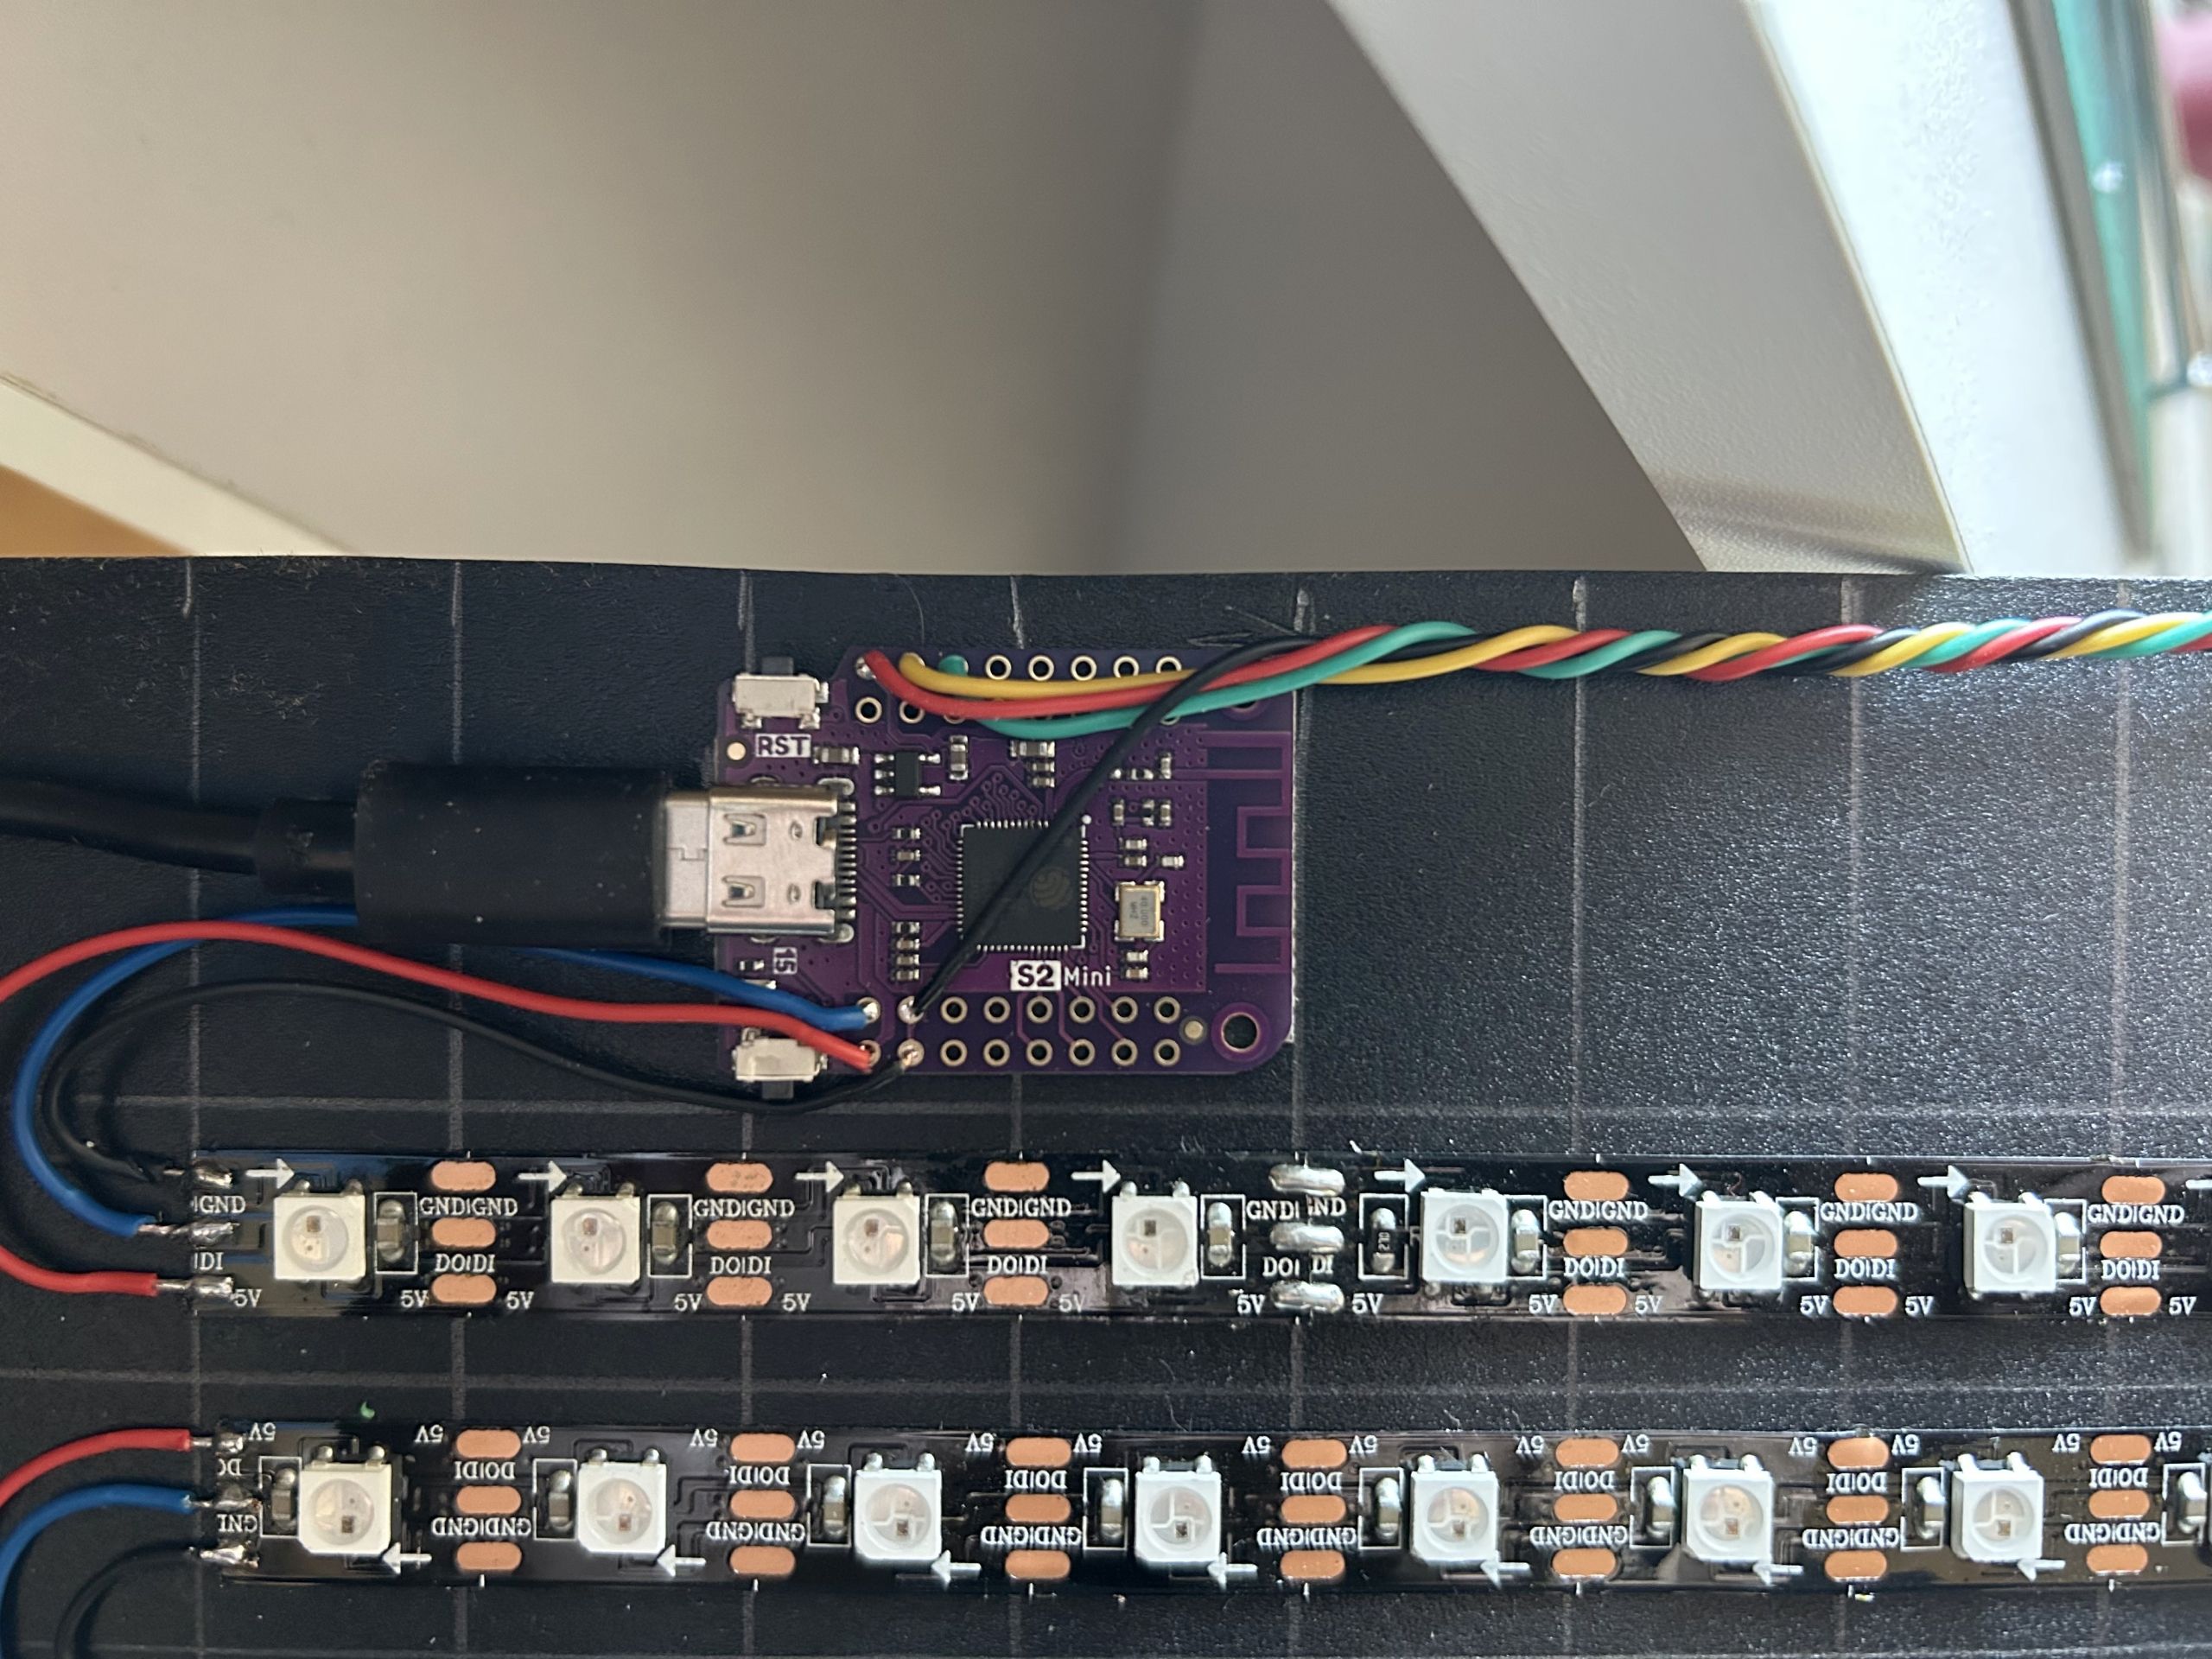
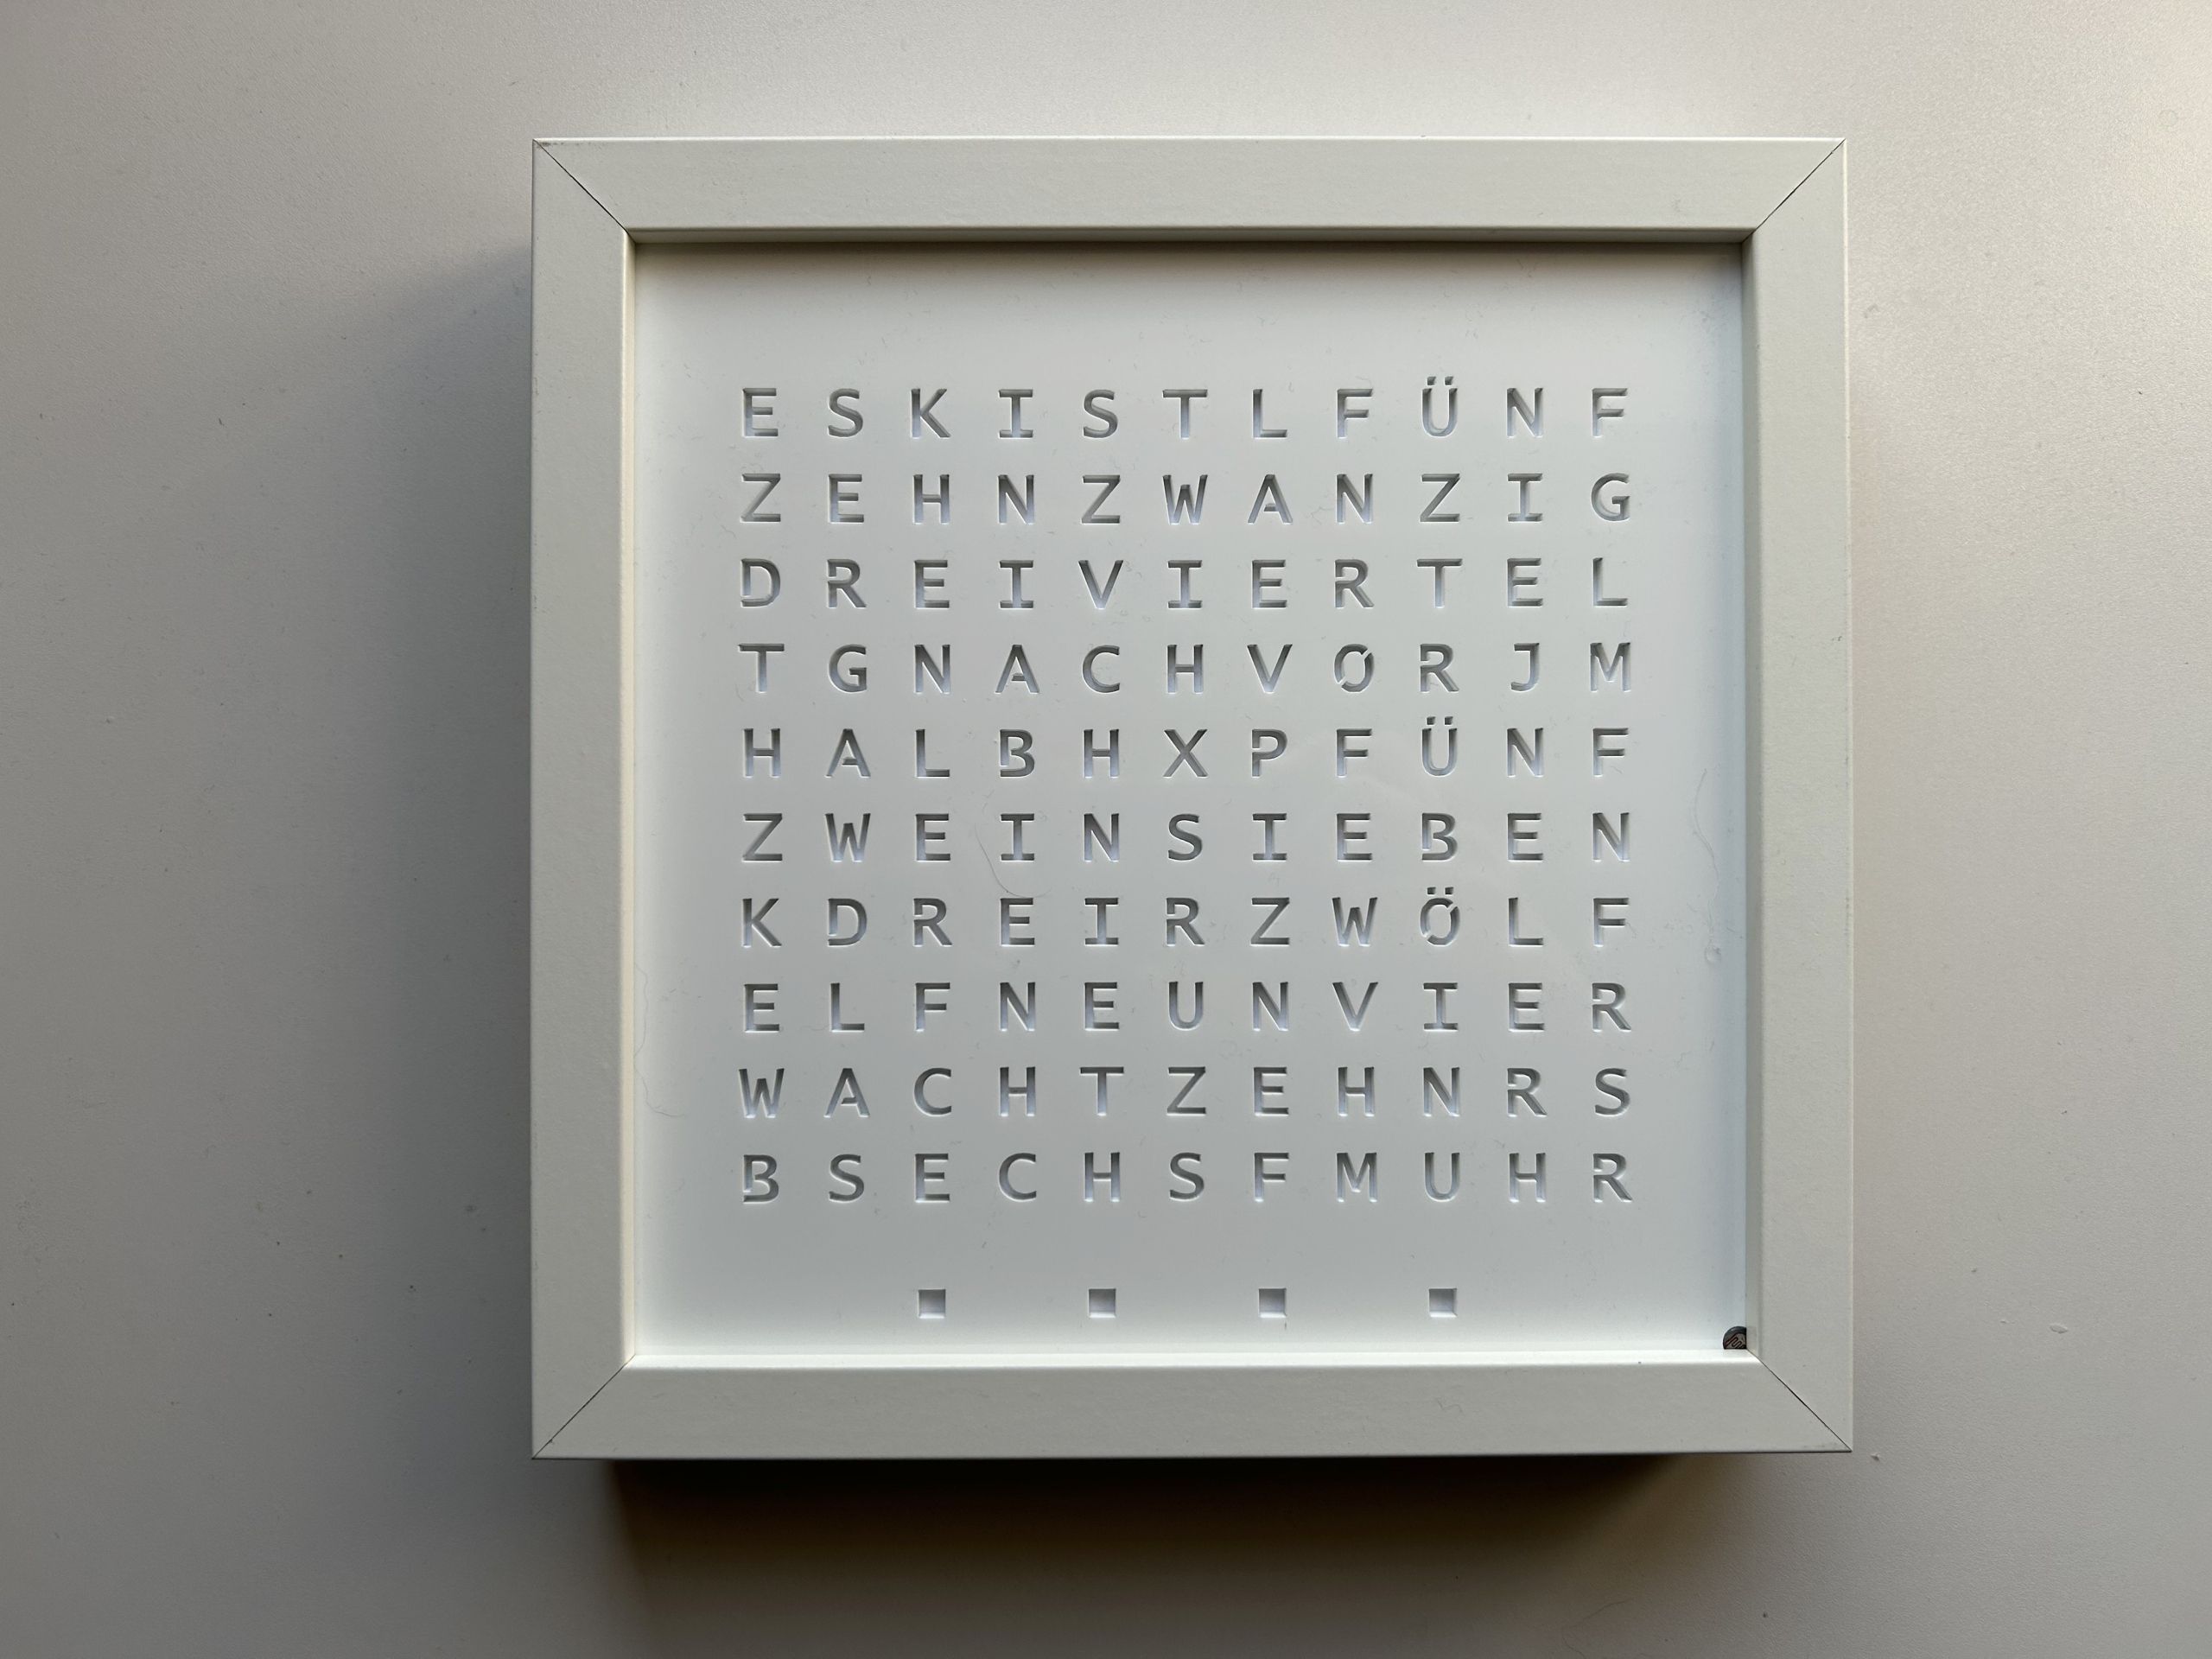
The latest revision of the WordClock uses a ESP32-S2 (Lolin S2 Mini) and a full LED matrix to display scrolling text.

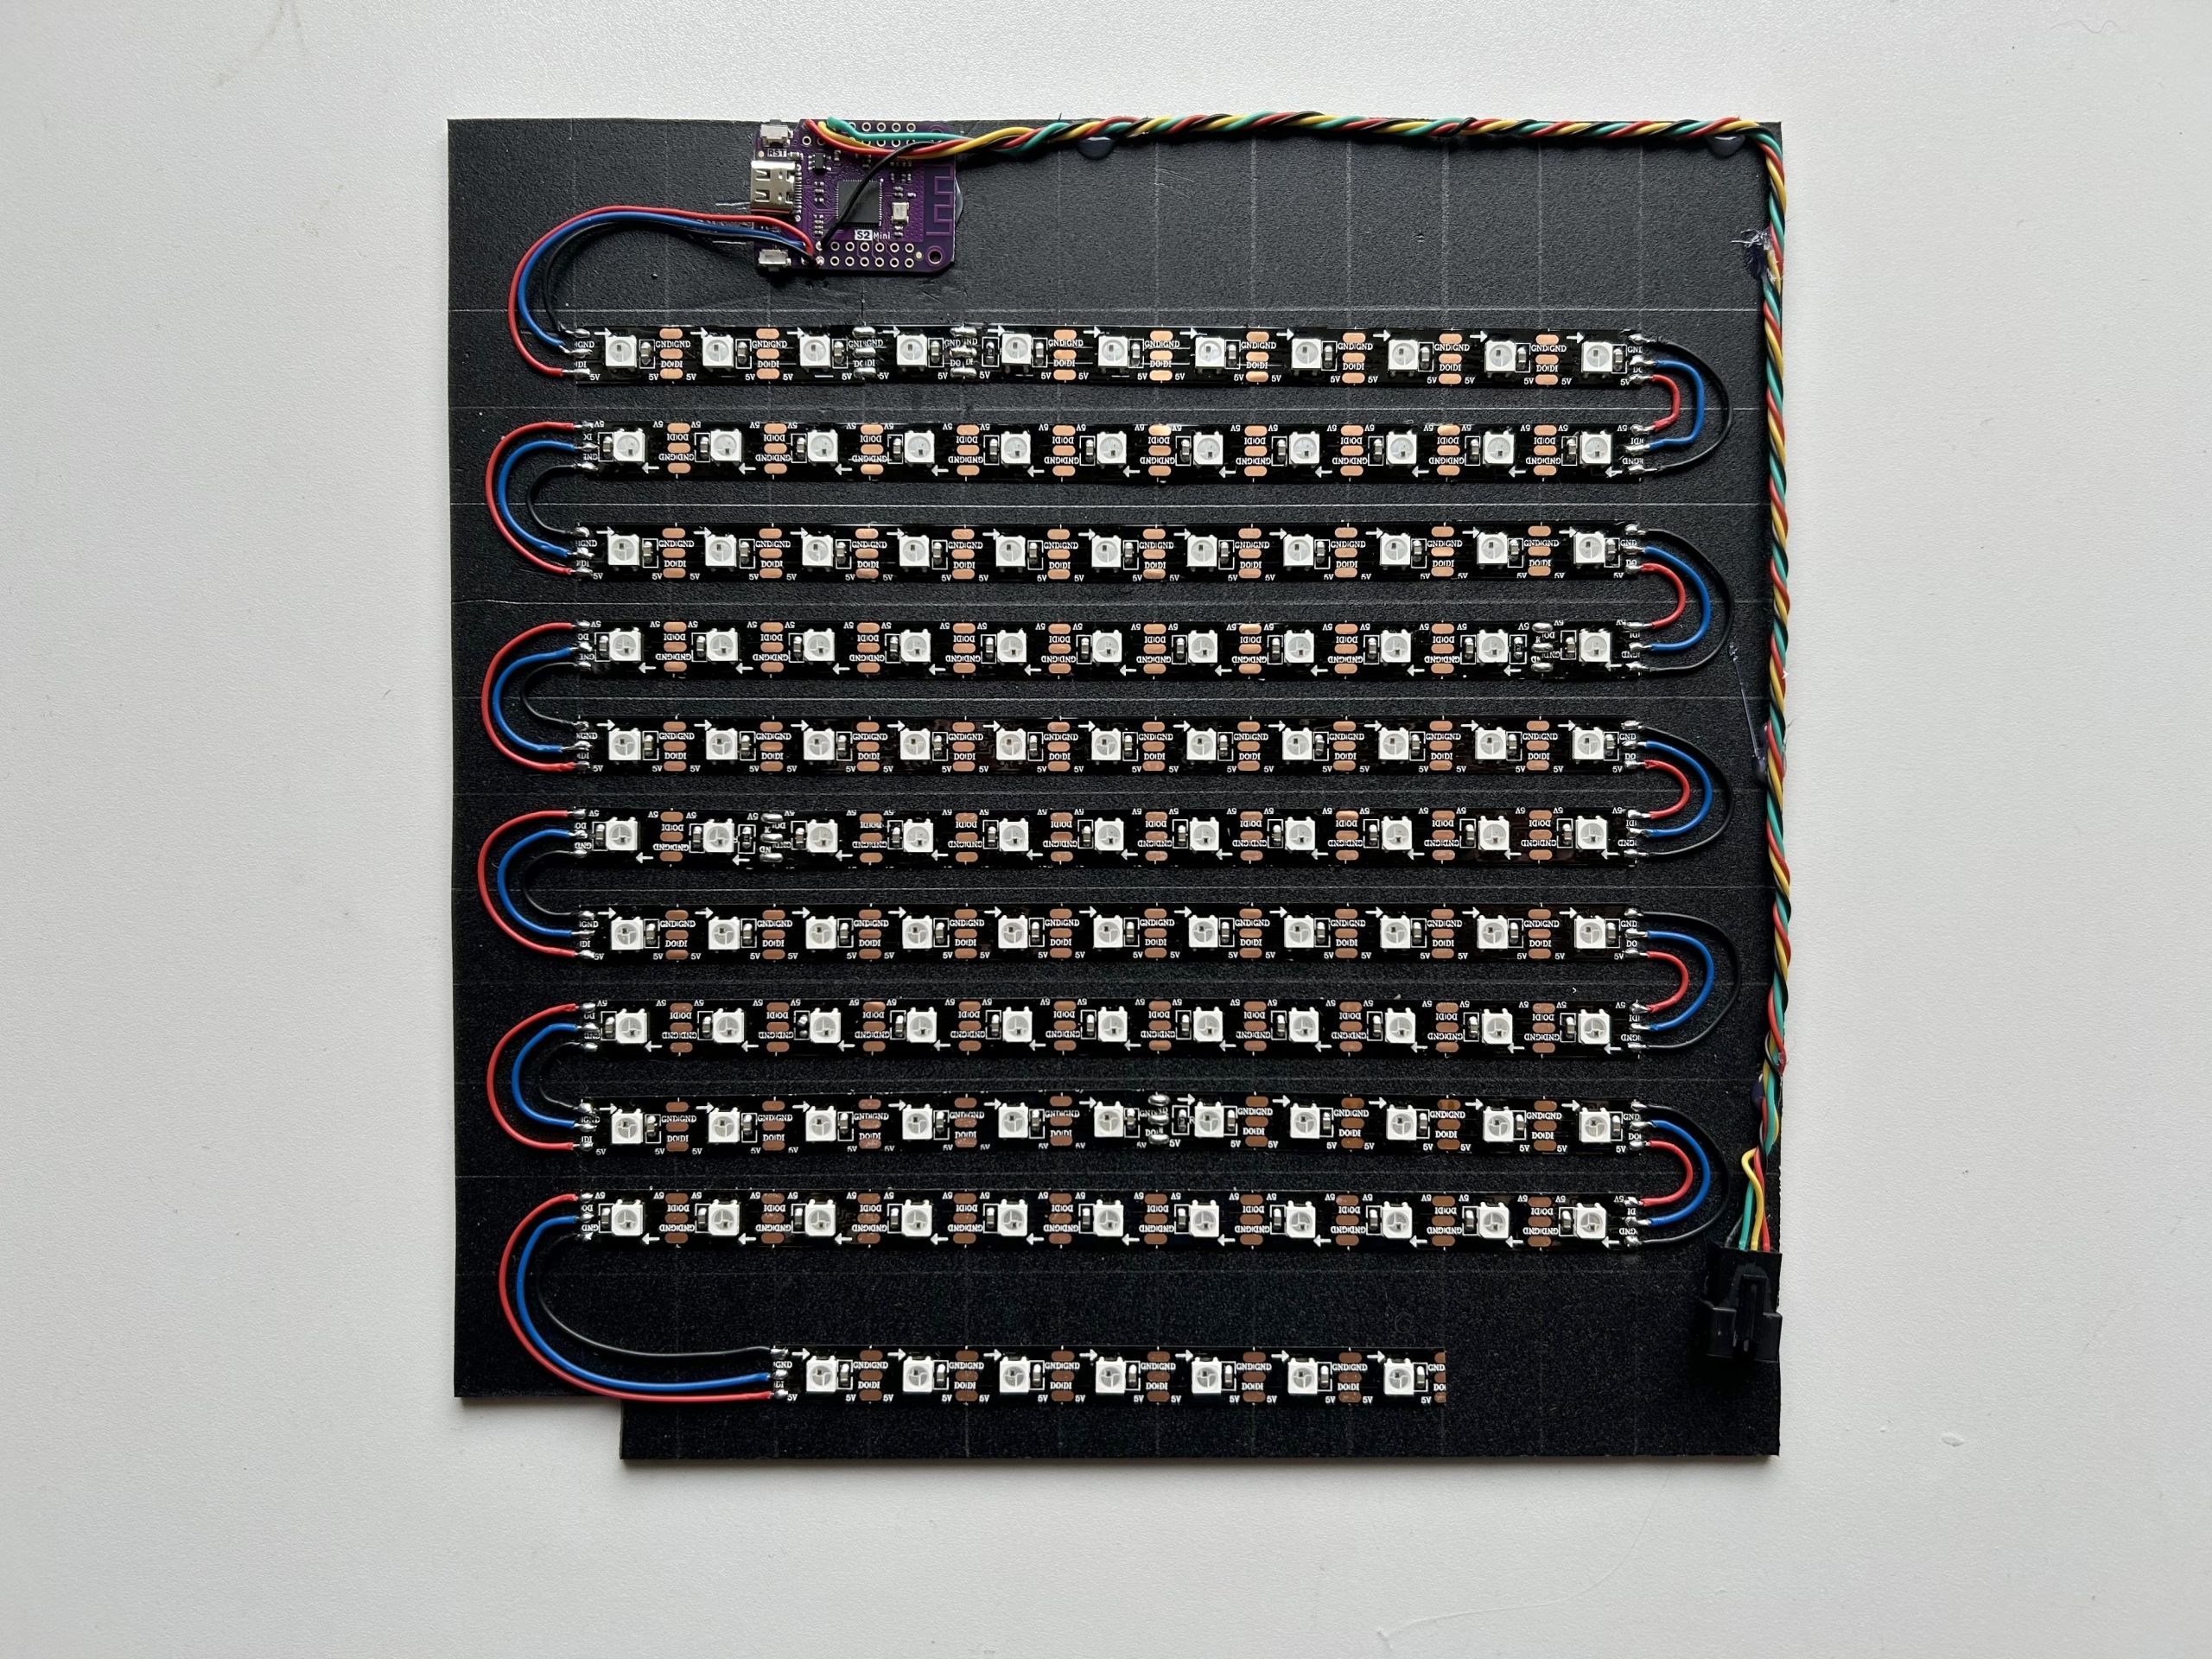


The software uses CircuitPython with a local web server running on the WordClock to control the color and time.
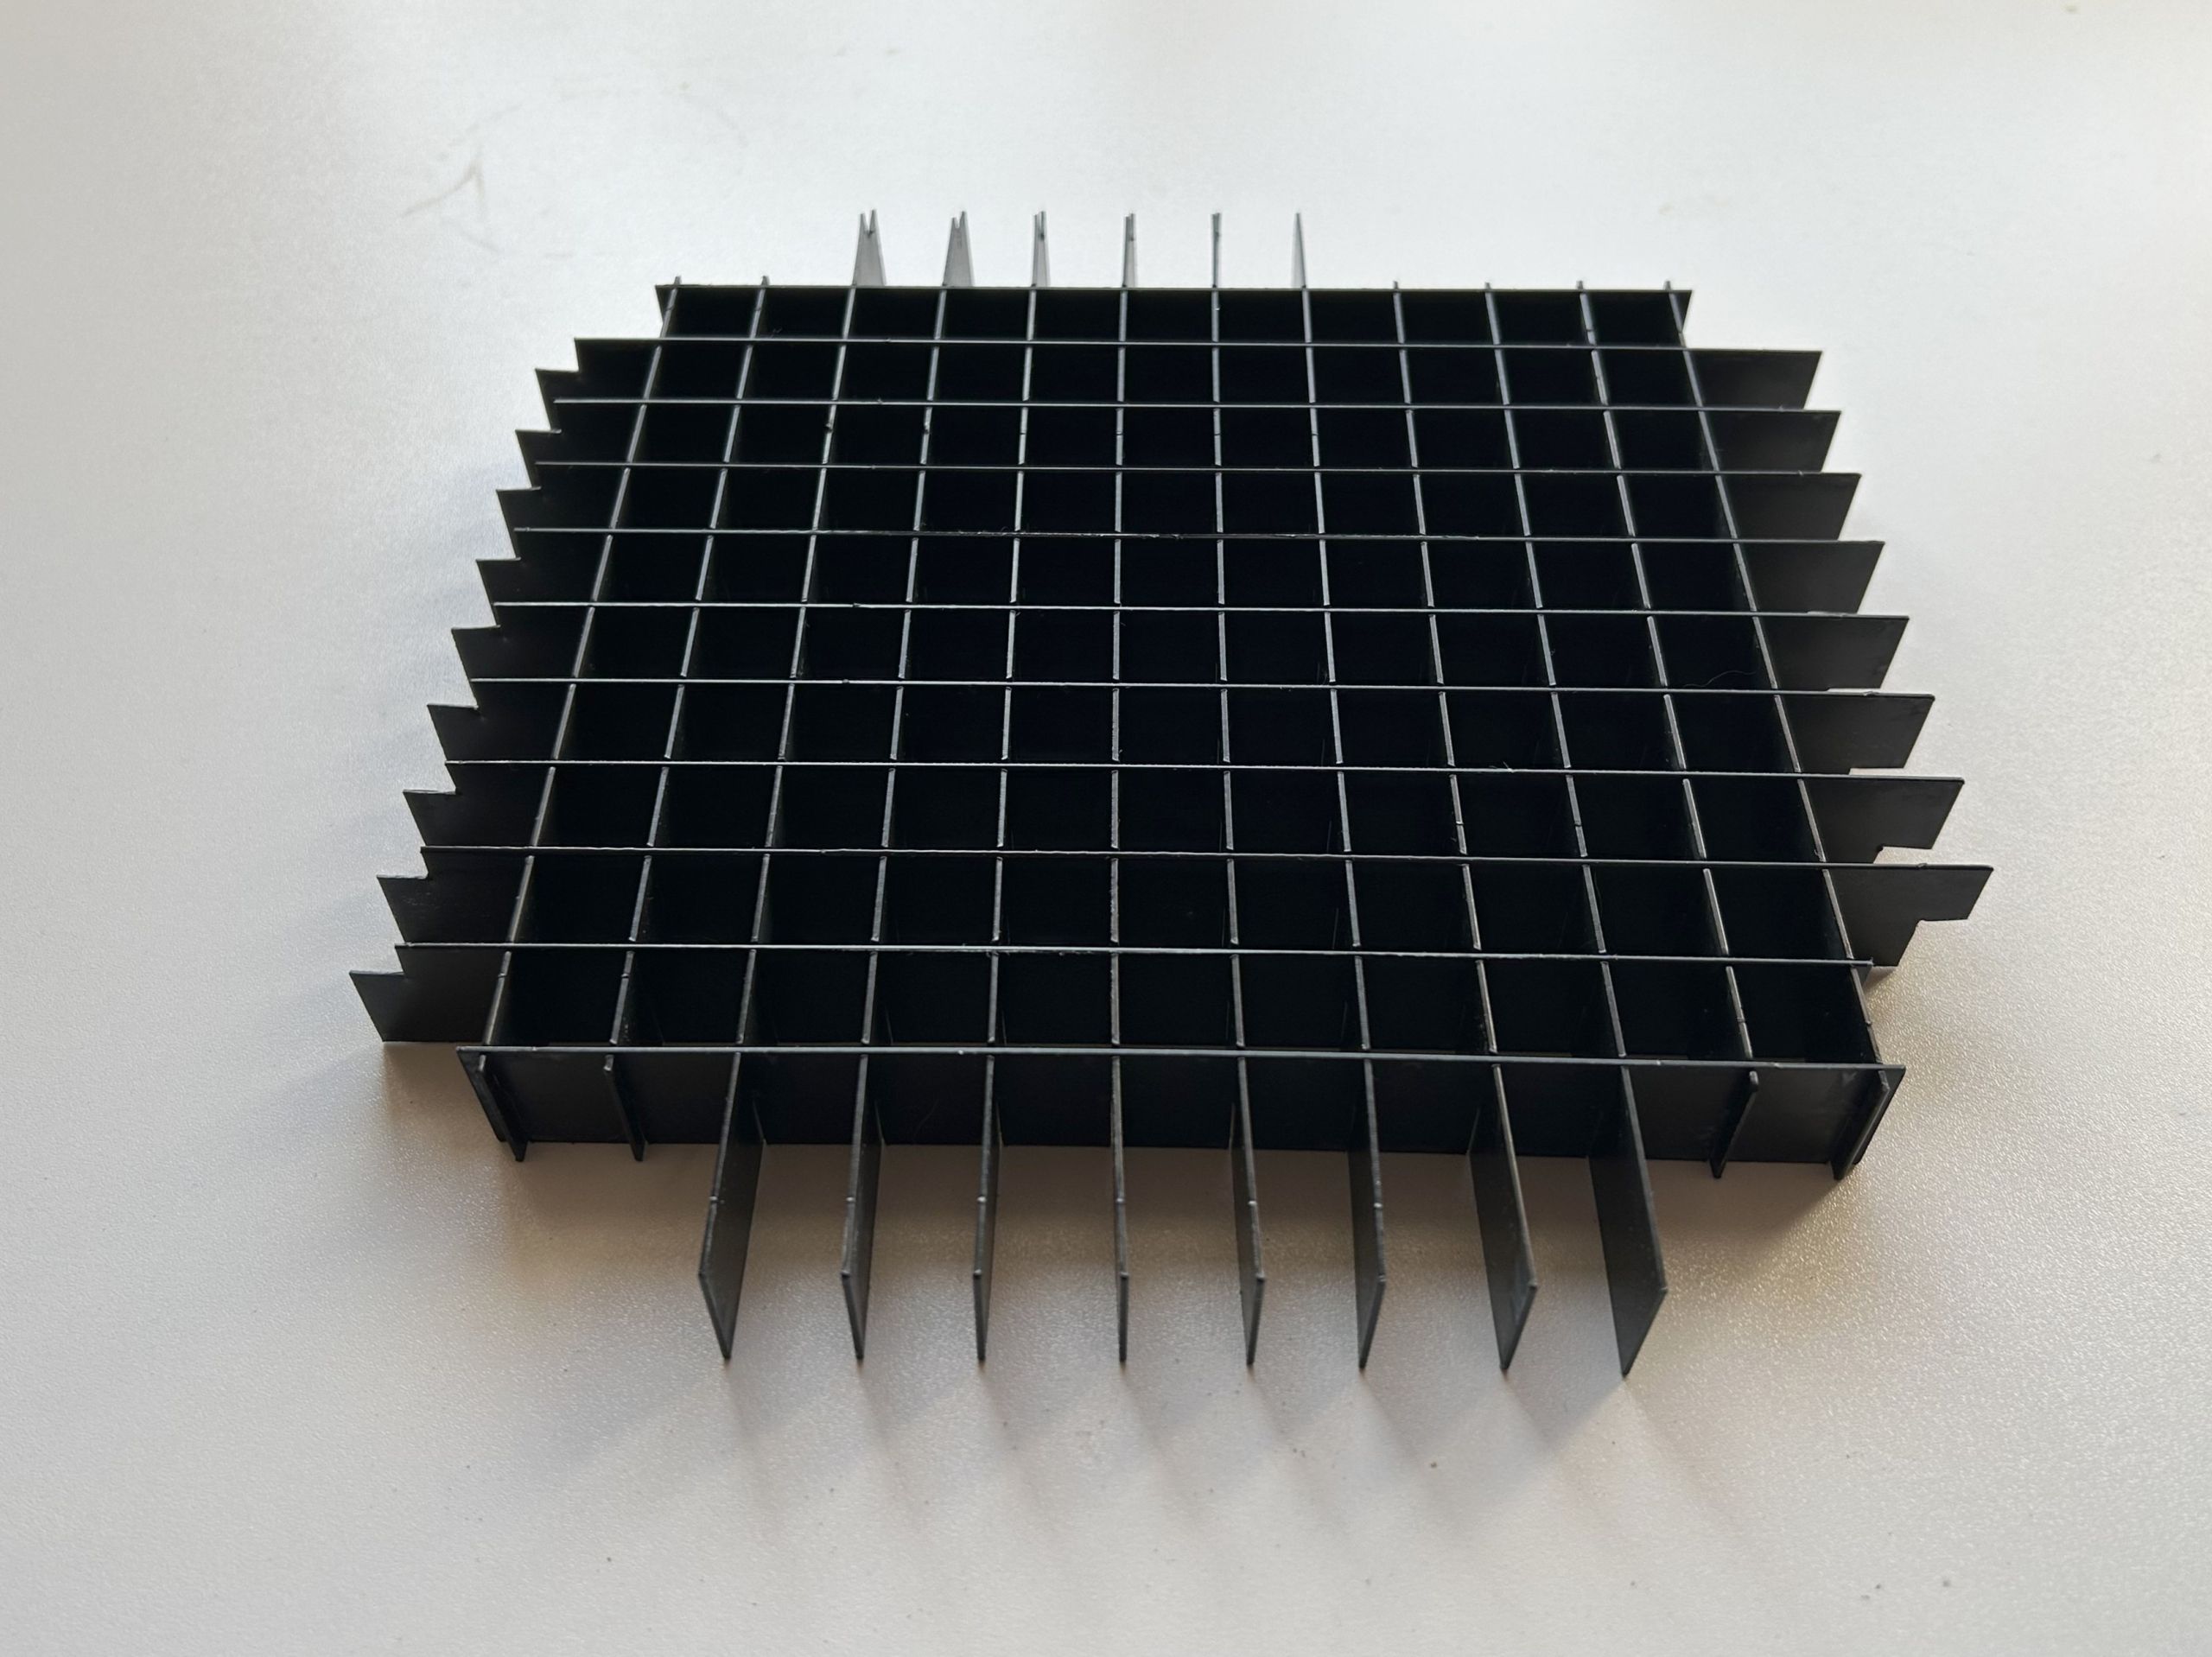
The code and the laser cutting templates can be found on github.
Connect to Wi-Fi
After plugging in, the four lower minute indicators light up red while the wordclock connects to the stored Wi-Fi network.
If no Wi-Fi network hasn’t be set up yet or if an already set up Wi-Fi network is not available, a Wi-Fi hotspot (e.g. WordClock_085699f434a1) is created after a short time and the IP address of the wordclock (192.168.251.1) is displayed in red in a continuous loop.
To set up the Wi-Fi network, a smartphone or computer must be connected to the Wi-Fi hotspot. Then, enter the IP address displayed (http://192.168.251.1) or http://wordclock.local in your browser, where the Wi-Fi network and password can be entered:
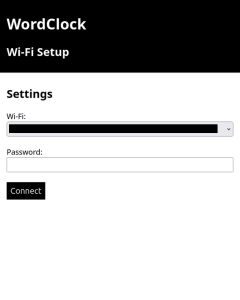
After pressing ‘Connect’, the clock will restart and attempt to connect to the Wi-Fi network.
Control WordClock settings
Once the connection has been established, the assigned IP address of the wordclock is displayed twice as scrolling text. Afterwards the current time is shown.
To configure various settings the IP address displayed at start-up (http://) or http://wordclock.local can be accessed via a smartphone or computer:

The following adjustments are possible:
- current colour
- the automatic brightness or the manually brightness value
- time zone
- whether the day-time-saving should be applied automatically