Inspired by trello and the open source alternative wekan I added some functionallity to support kanban-like boards in my life-tracking application. I got also some inspiration by the deck plugin of nextcloud and github project boards.
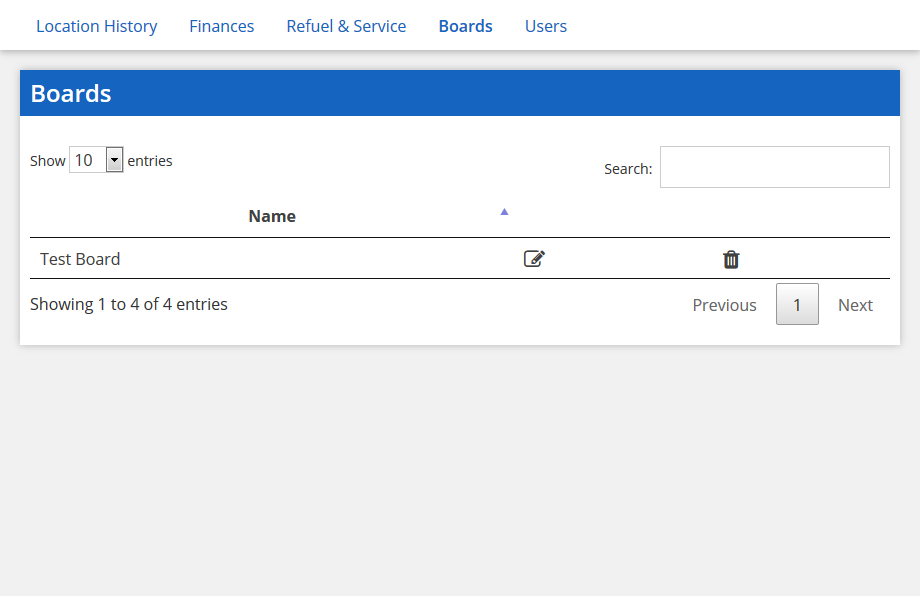
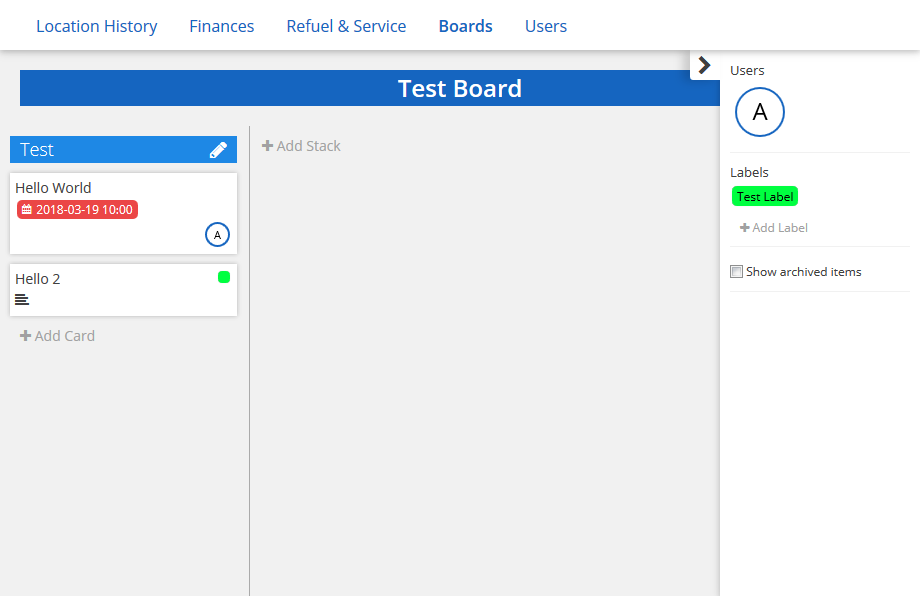
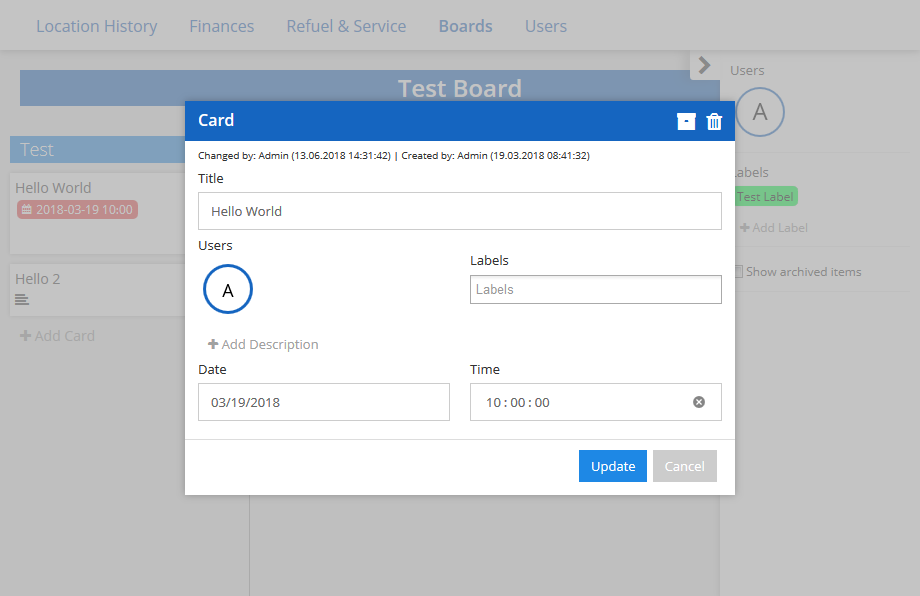
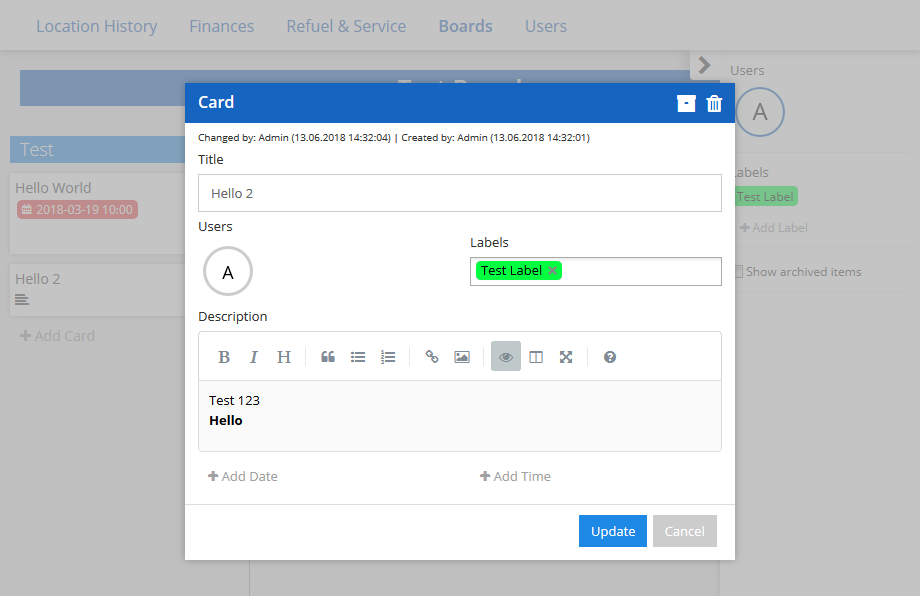
Whith the boards module users can create boards and add other users to the board. In the board view it is possible to create different stacks and add cards to the stacks. Users can add labels with colors to the board. Users, labels, due dates and descriptions can be assigned to cards. The description can contain simple markdown which is rendered with simpleMDE.
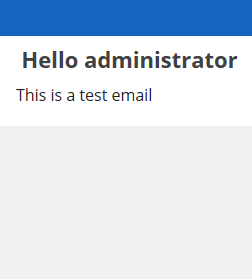
Users can subscribe to daily reminder mails for due cards.
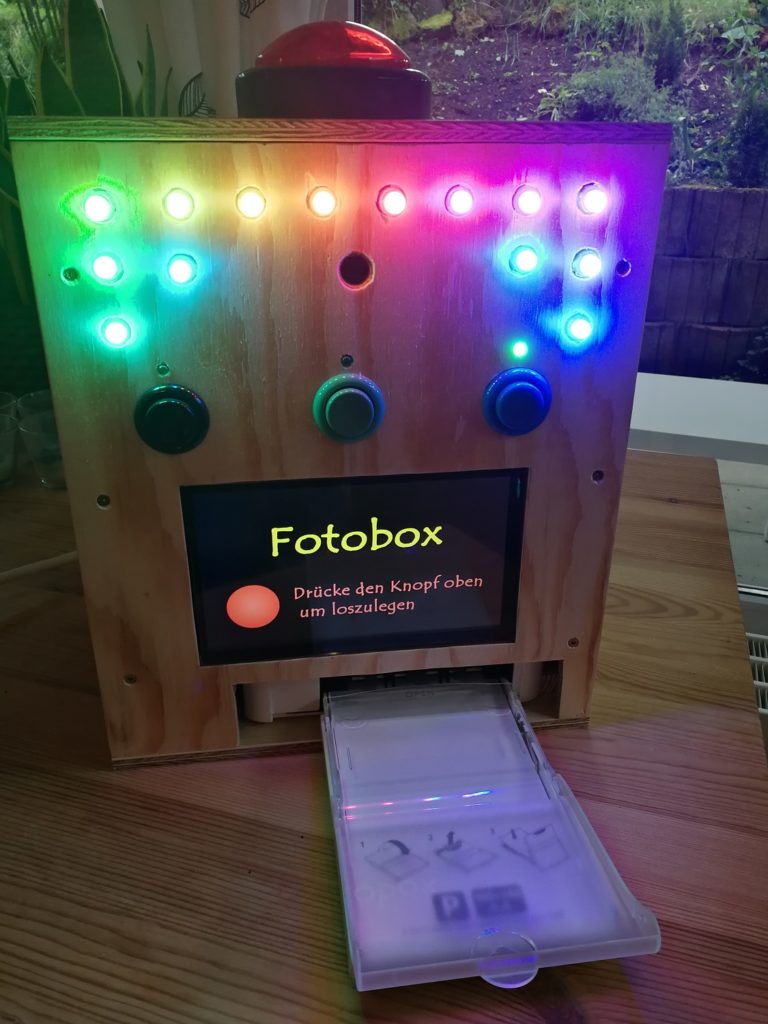
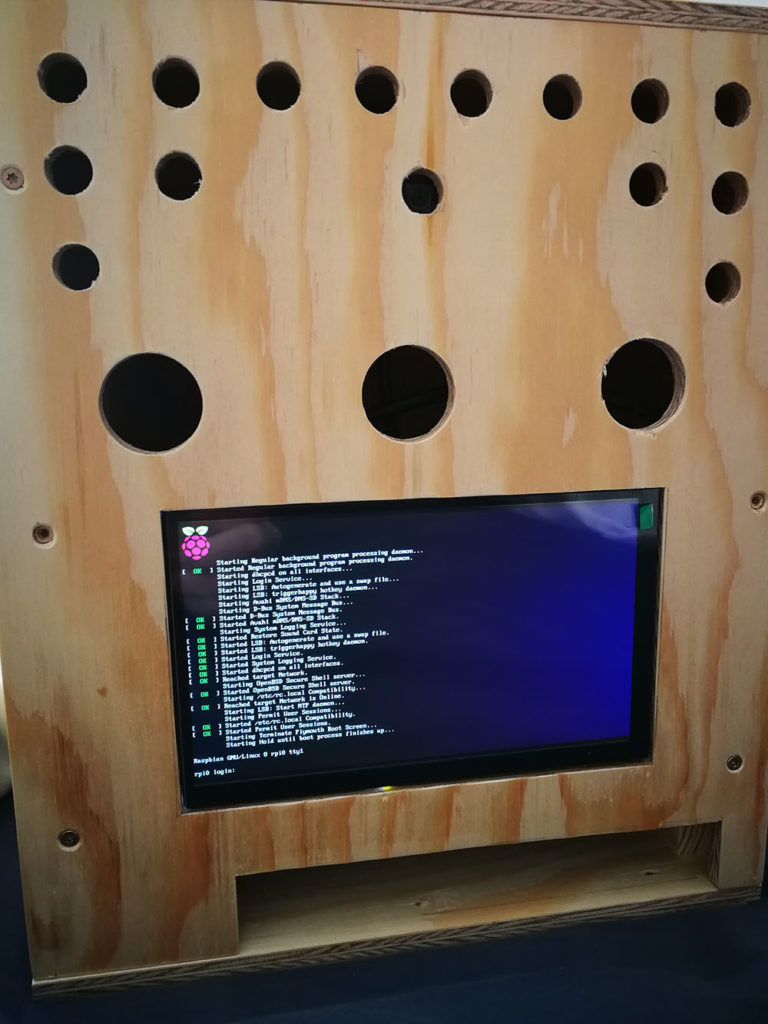
My latest project is a photobooth which is operated by a Raspberry Pi Zero and the Raspberry Pi Camera Module.
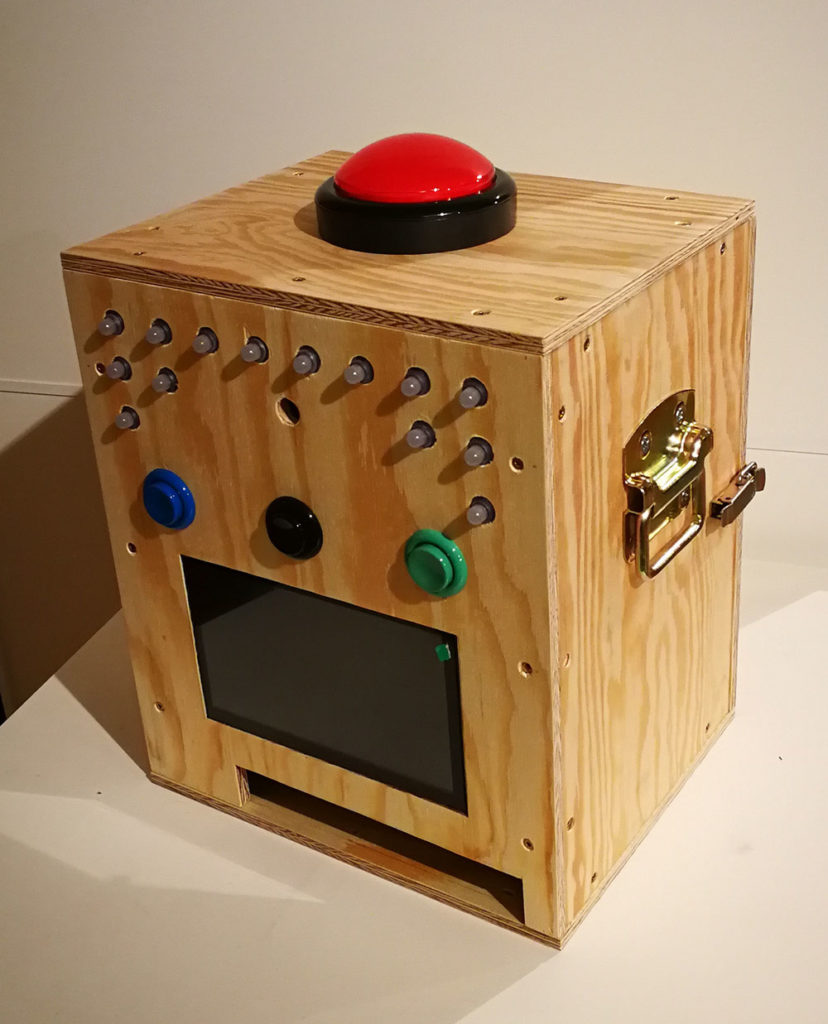
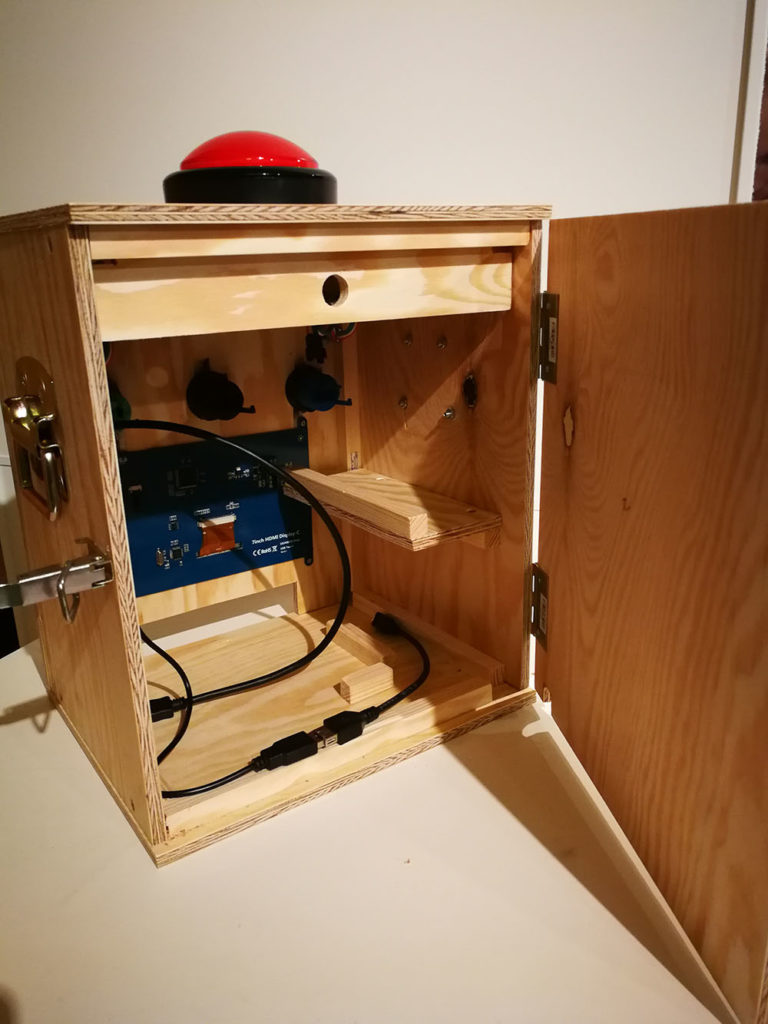
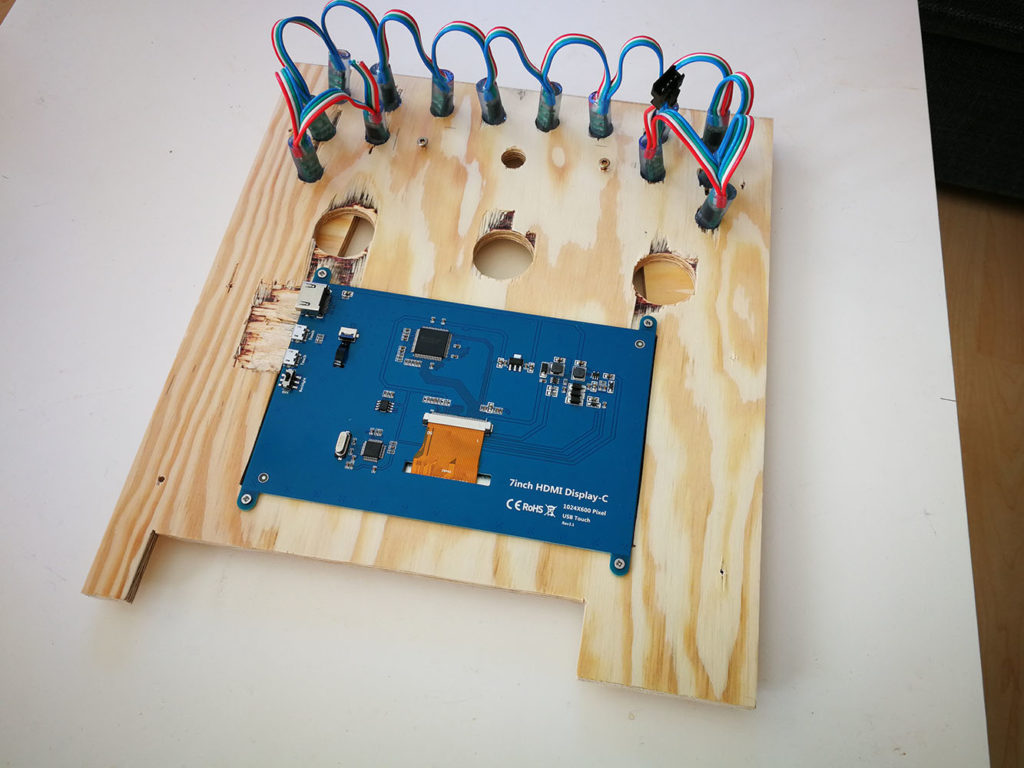
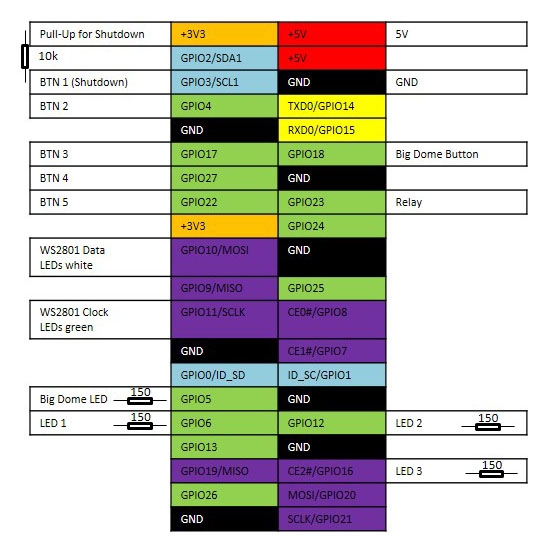
The photobooth is in a wooden case with a photo printer, a HDMI display, some buttons and WS2801 LEDs which are used as flash. You can find the code for the photobooth on github.
Instructions
Materials
The used materials are:
Raspberry Pi (e.g. Zero)
Raspberry Pi Camera module
HDMI screen
Canon Selphy photo printer
Big huge red button
3 Aracade buttons
3 green LEDs
14 WS2801 LEDs strip
5V relay to trigger the power of the printer
wooden case
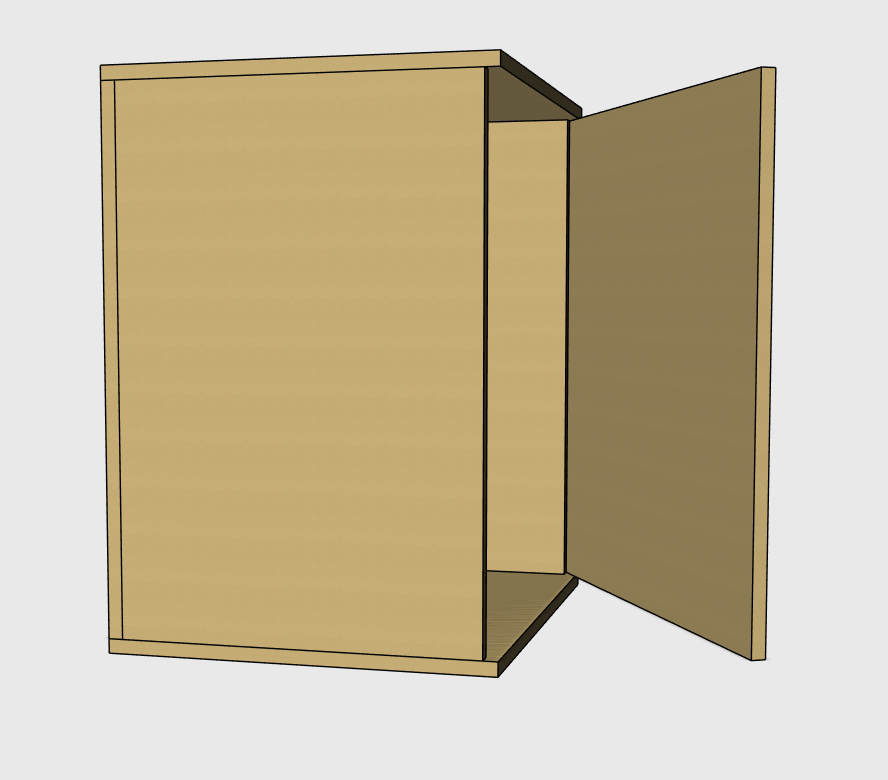
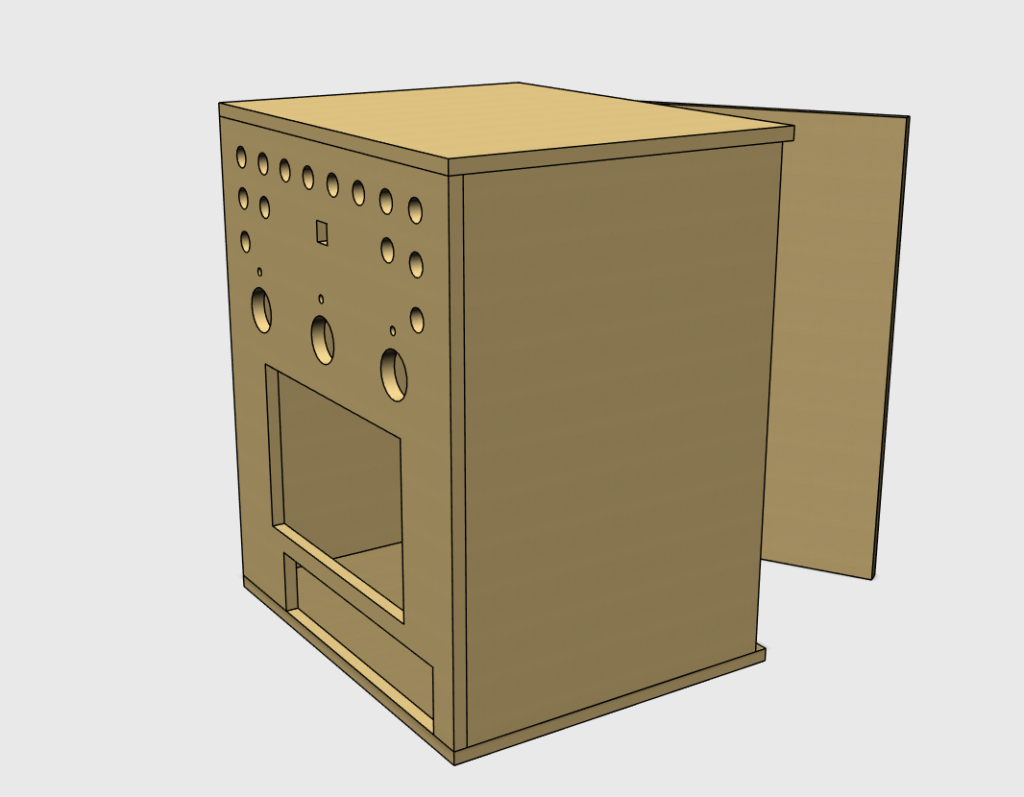
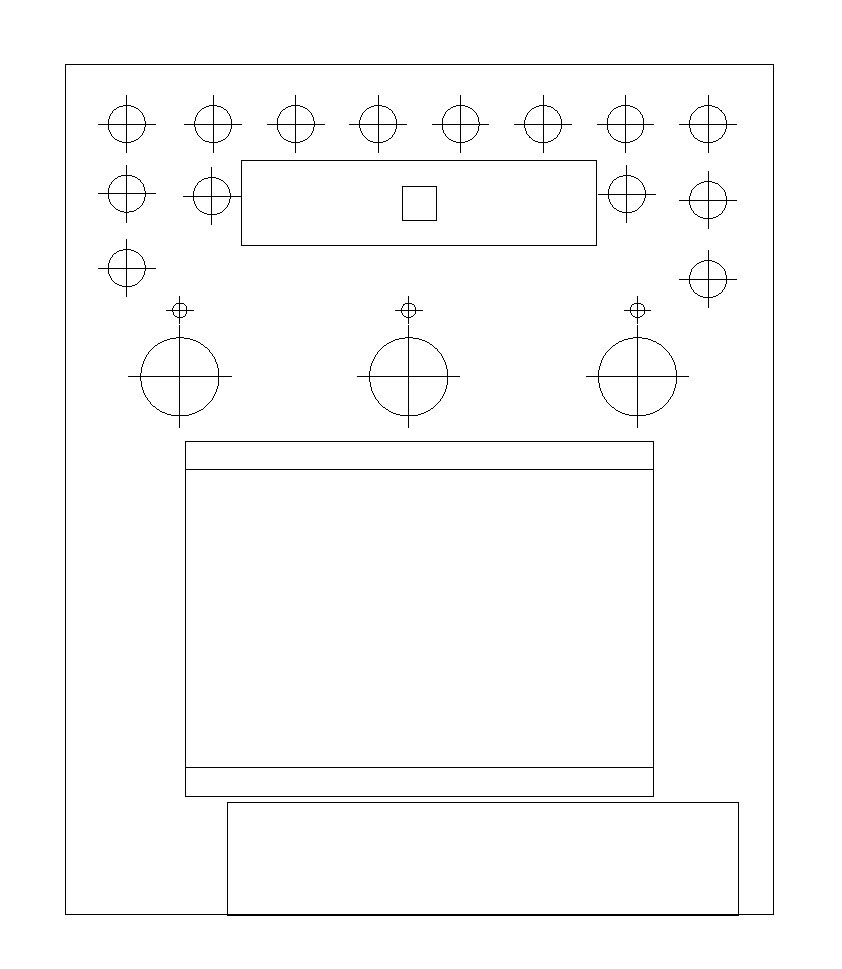
Case
For the case the following 8mm wood plates are used:
Add Canon Selphy printer to cups (https://localhost:631)
Functionality
All the neccessary parameters are configured in config.py.
When starting the python script the intro screen is visible. You can select whether you want to make a single or a multi shot with the corresponding arcade buttons. With a press on the big red button an picture is captured. After the capturing process the images are combined with an optional label image. Afterwards you see a preview of the picture which can be printed with the corresponding arcade button. When pressing the big red button you can capture the next picture.
I’ve used some WS2801 LEDs for notification on my Magicmirror build. Unfortunately with the update to Raspbian stretch they were no longer working with the MMM-Pilights module which used the rpi-ws2801 node module.
I was able to modify the node rpi-ws2801 module and set the default frequency for the WS2801 LEDs to 10MHz. The result is in my fork of the node module: https://github.com/Trekky12/node-rpi-ws2801
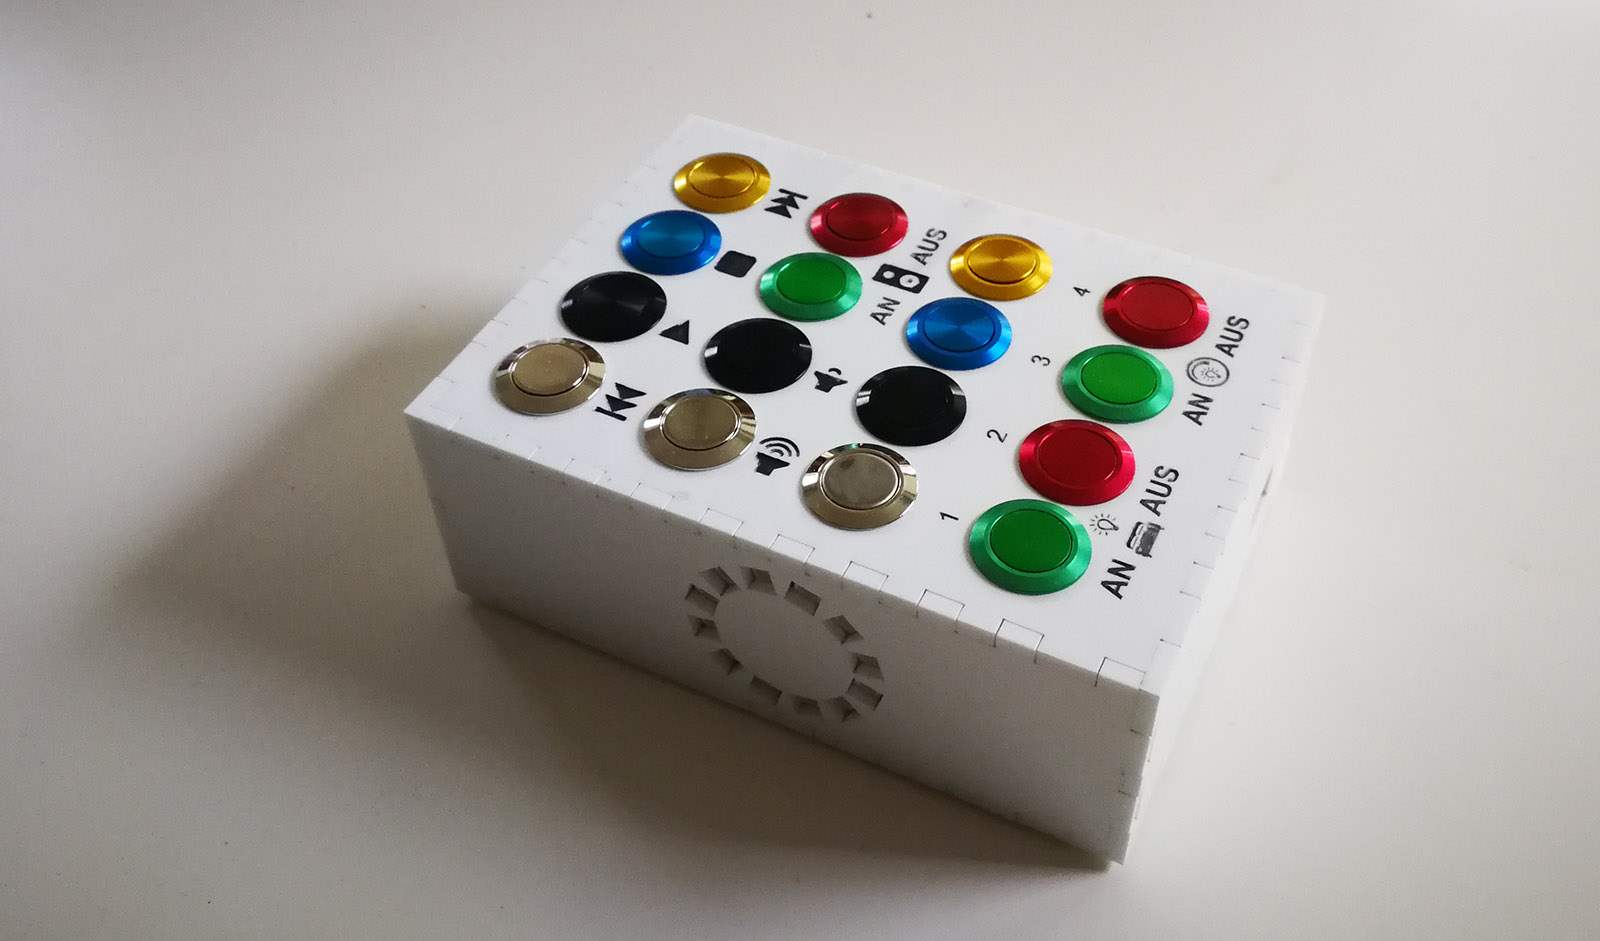
My latest revision of the smartswitch supports the maximum (due to the MCP23017) of 16 button. I’ve used anti vandalism buttons in different colors so the user can identify the function easily.
All the other components are the same like in the last revision.
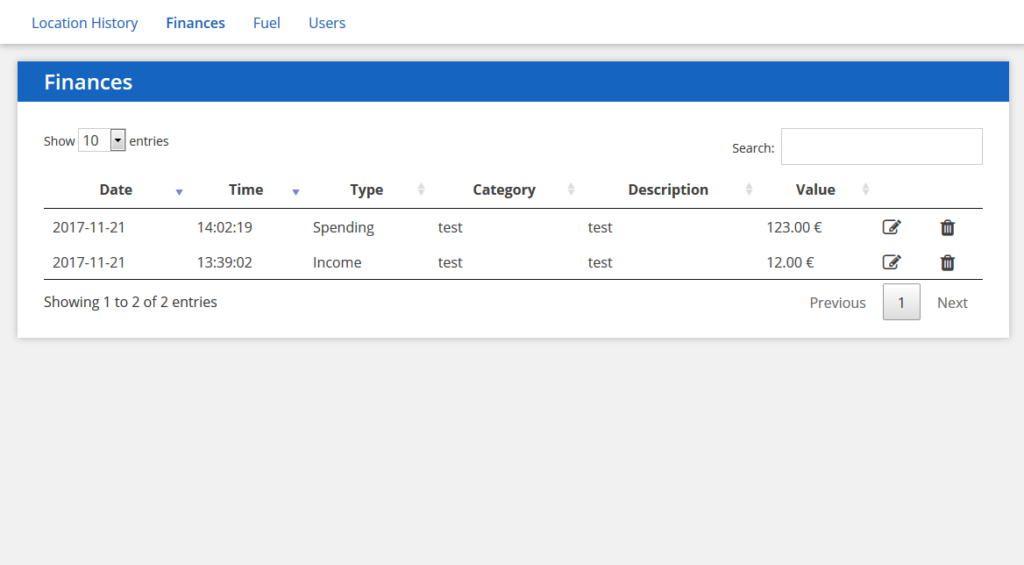
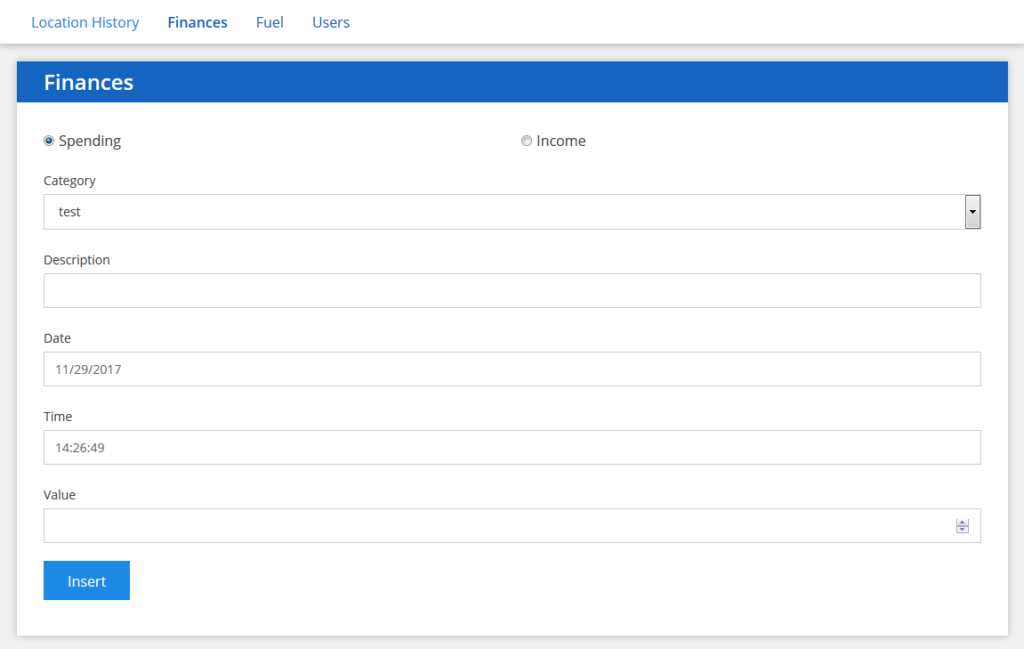
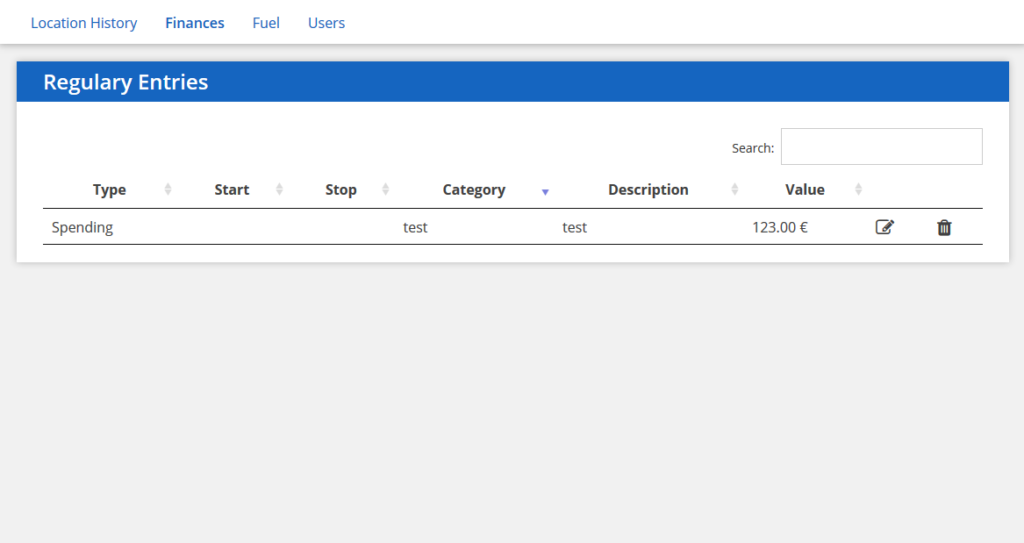
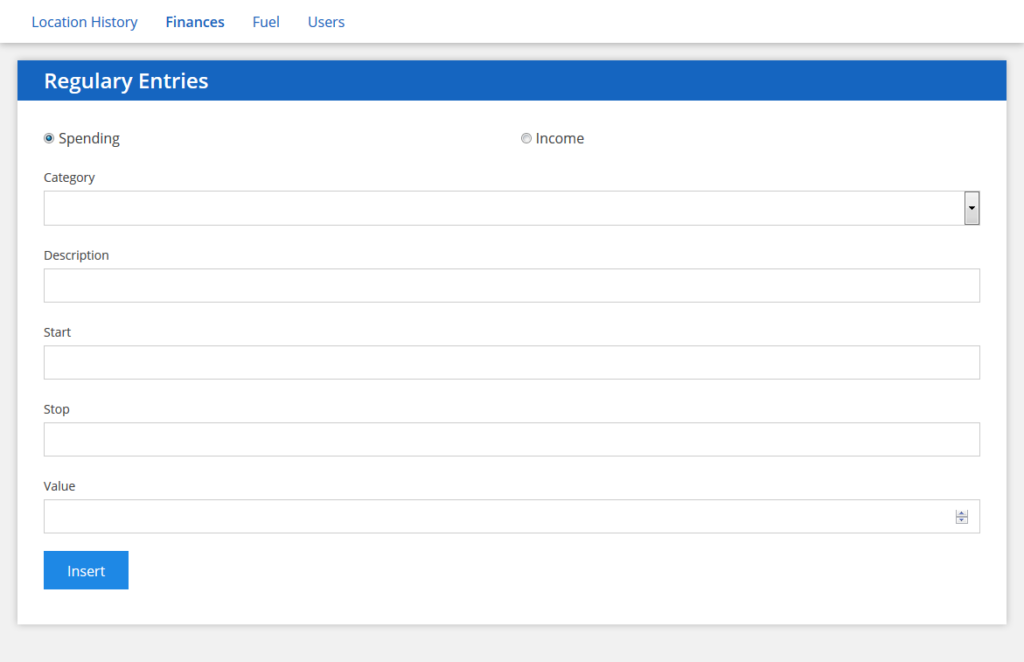
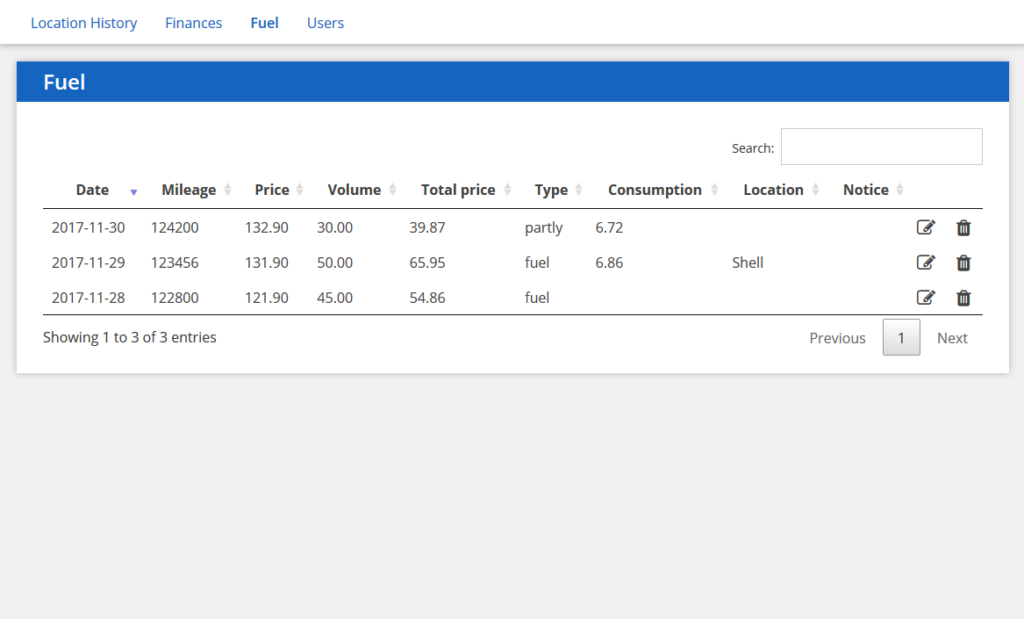
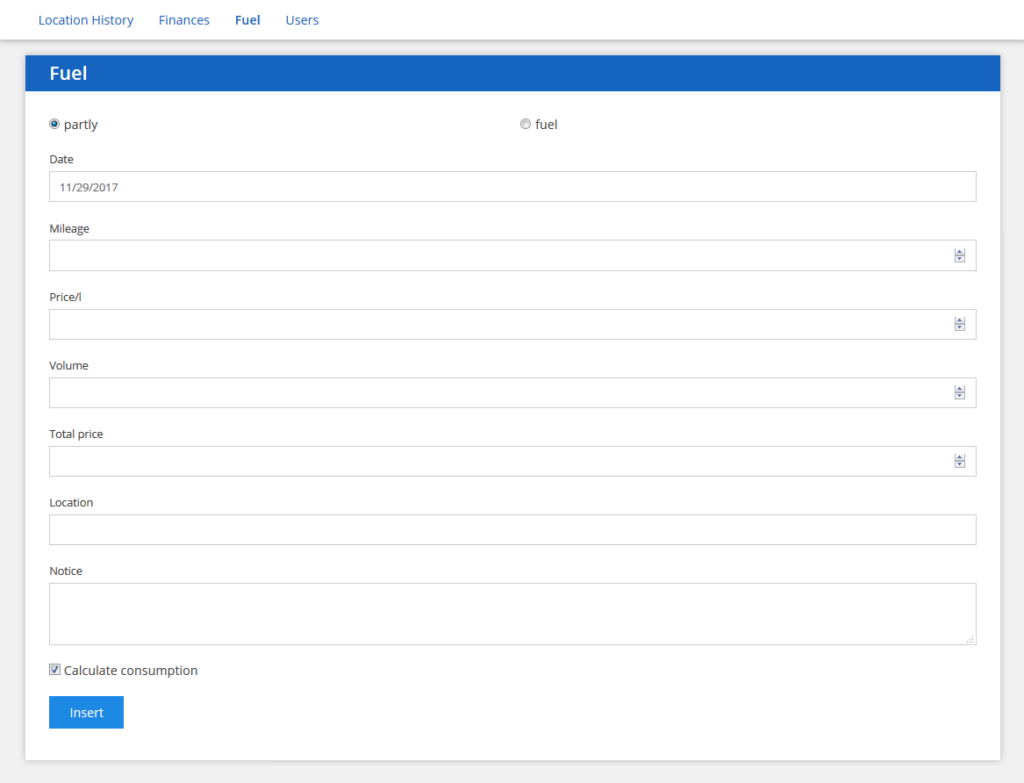
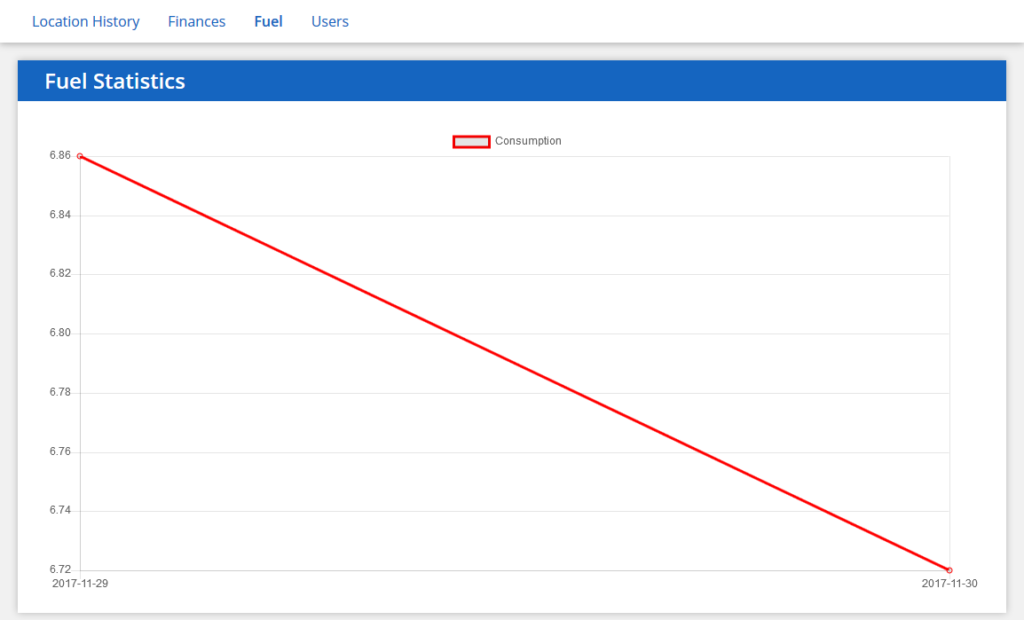
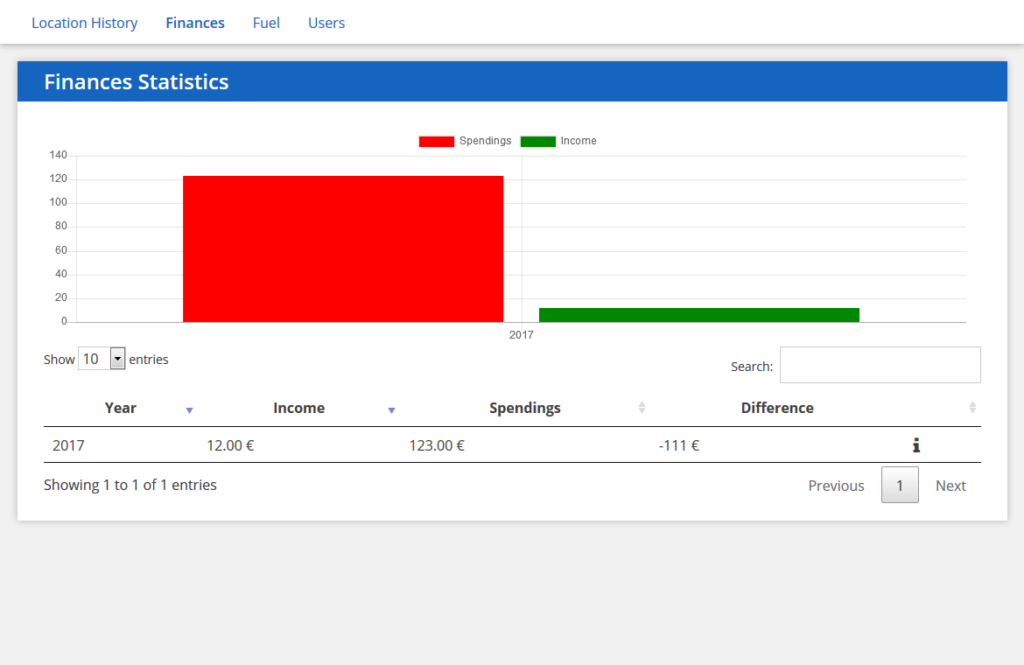
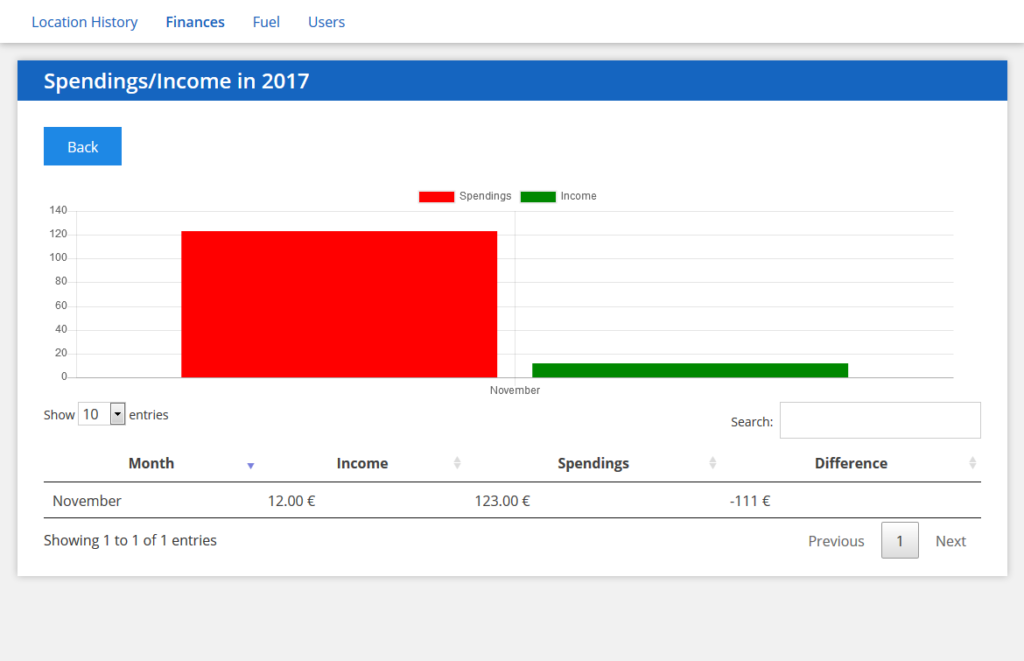
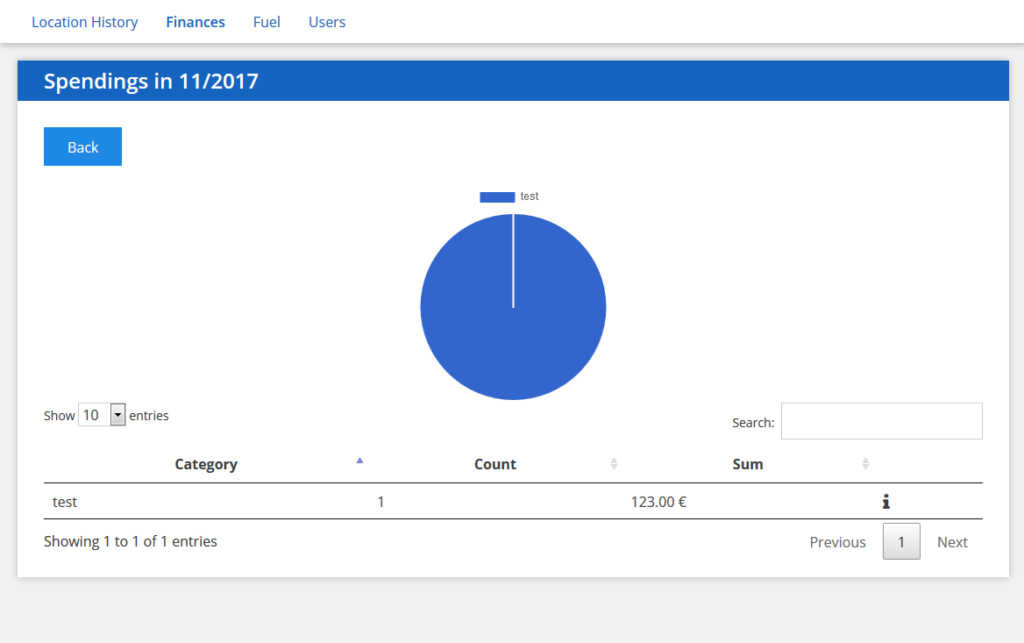
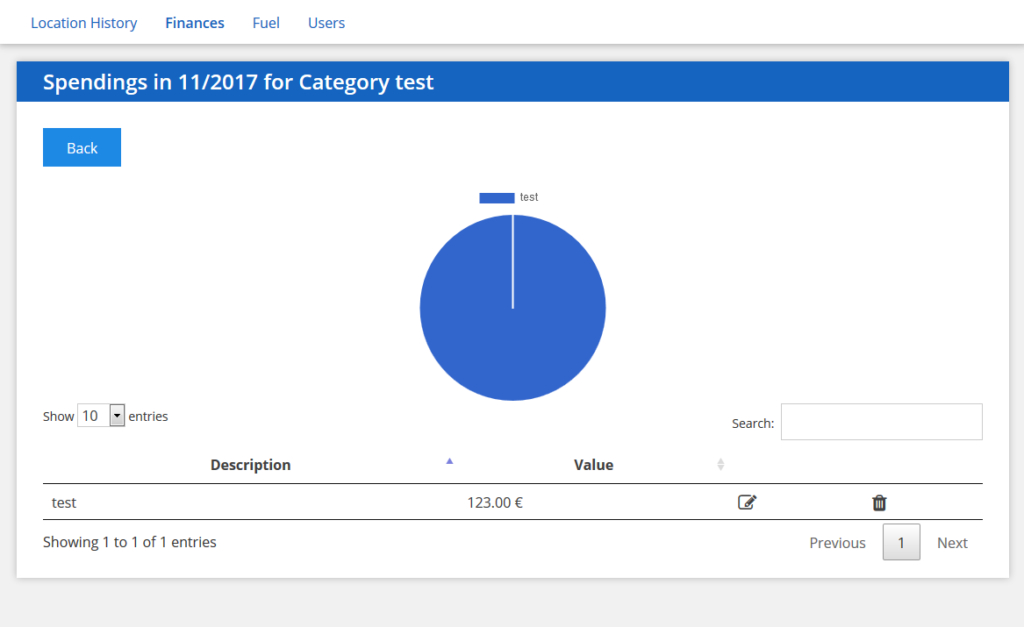
A long time ago I started to log my daily expenses and incomes in a Google Calc Sheet. Additionally I logged my cars fuel consumption in another sheet. To automate the process my Android App is able to communicate with my Raspberry Pi where a Python script insert the neccessarry data into the Sheet.
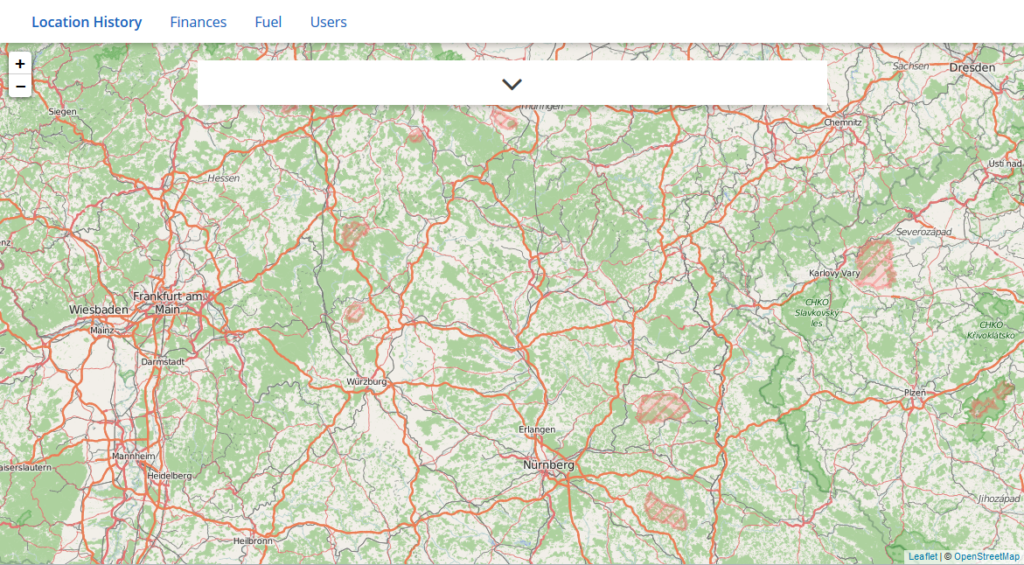
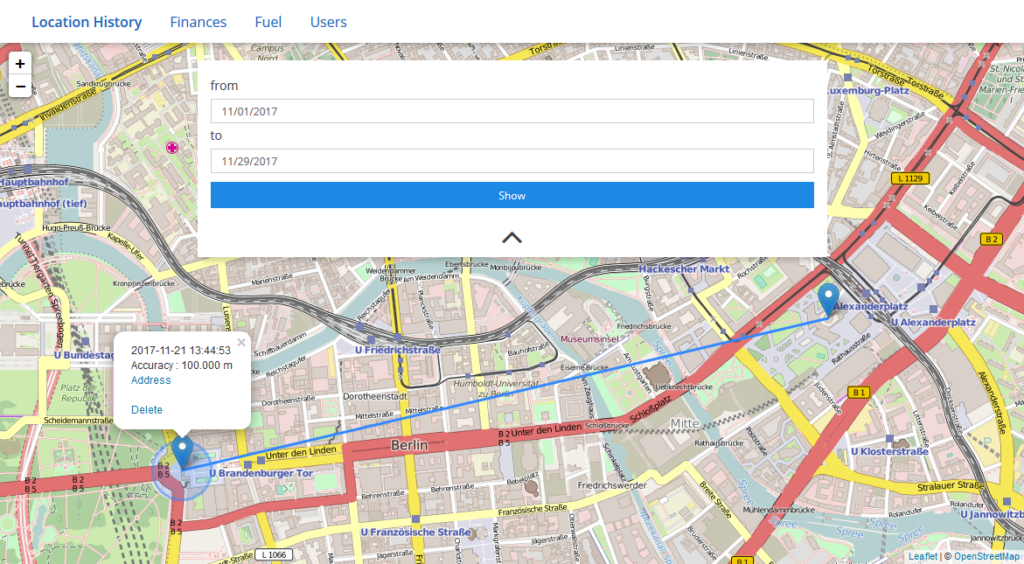
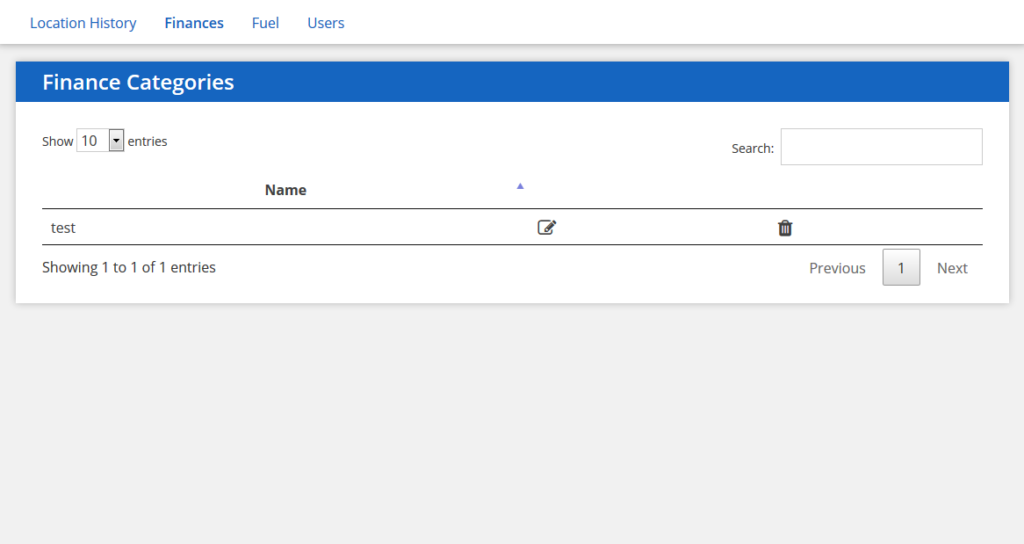
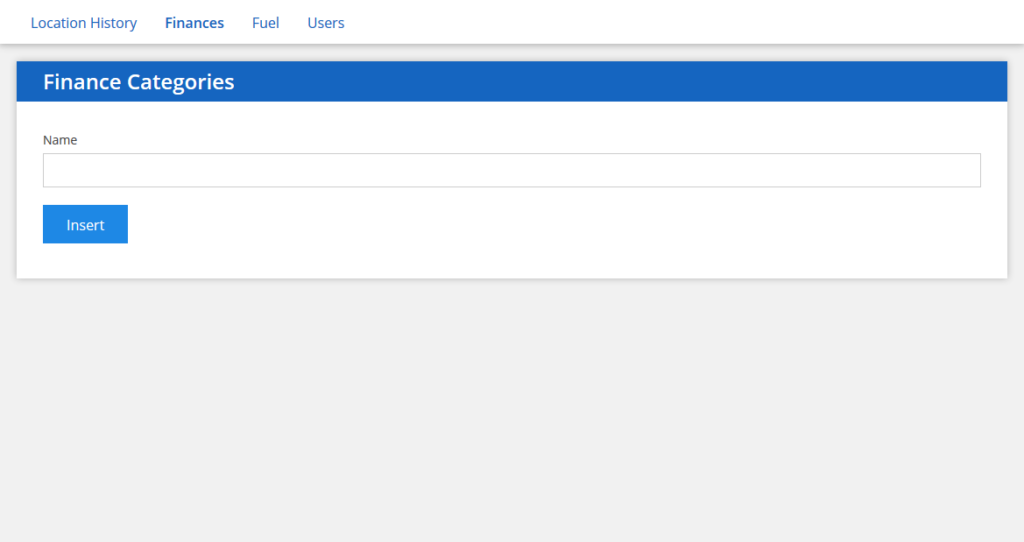
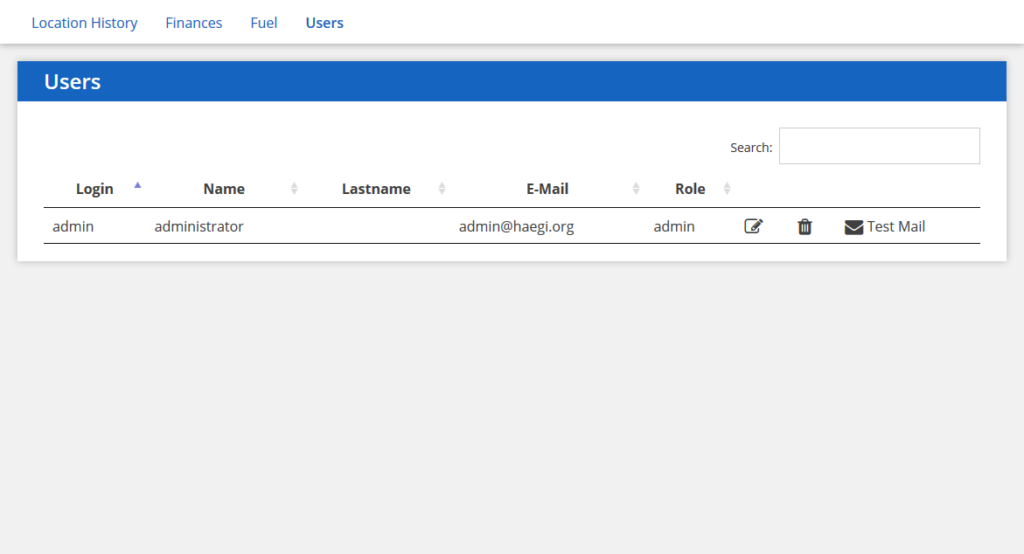
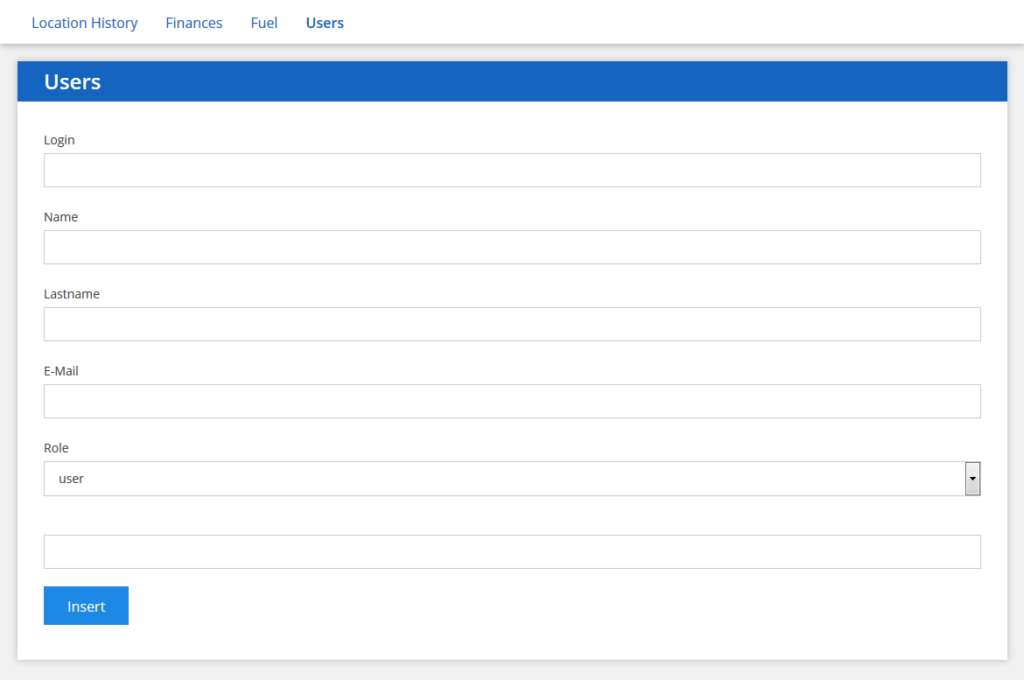
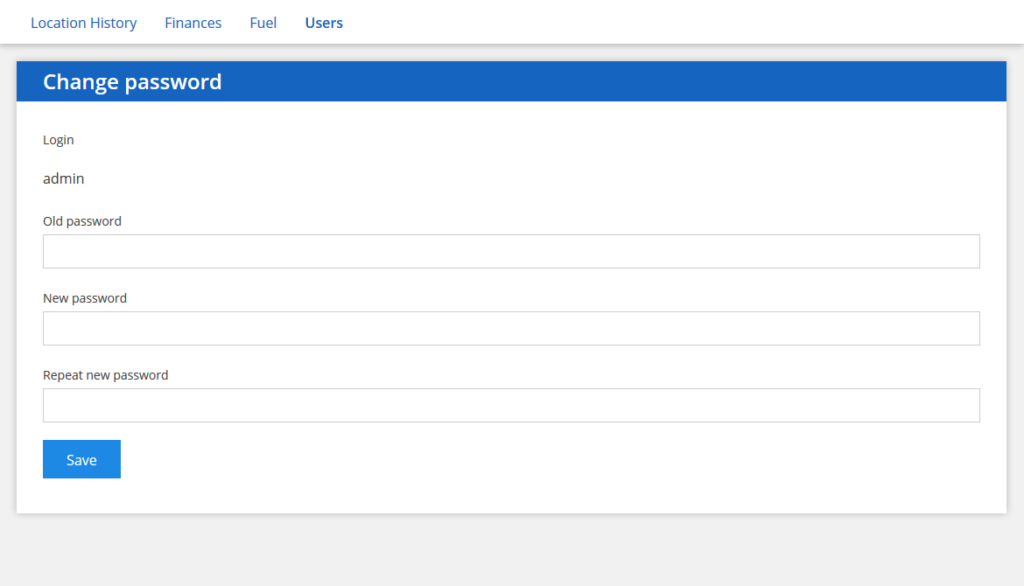
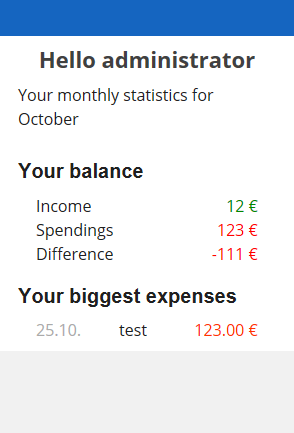
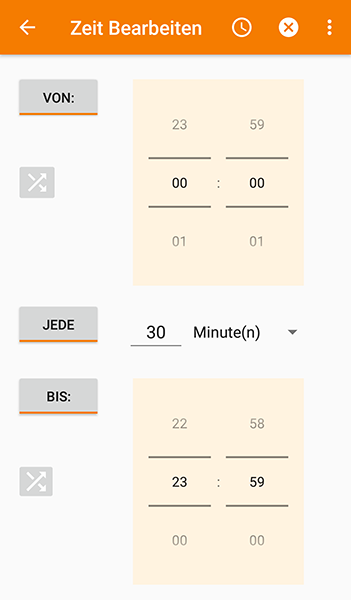
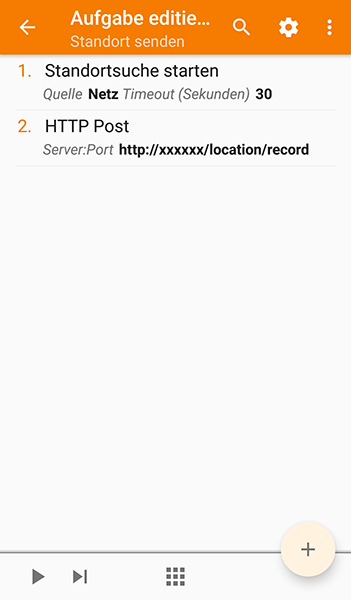
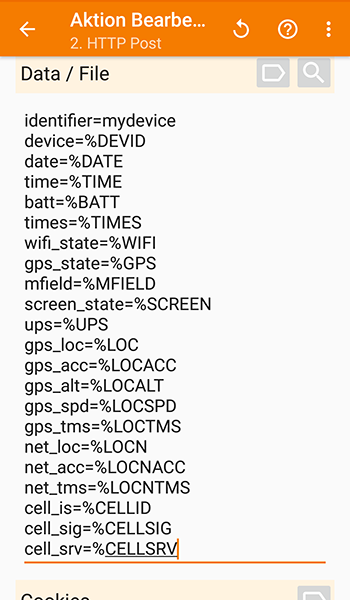
For better statistics and less dependency to Google I developed a small Life-Tracking dashboard where I can log my expenses, income and my cars fuel consumption. Additionally I created an endpoint to log my location with tasker.